You're probably reading this a few days before your road test, replaying the same worry in your head. Not lane changes. Not three-point turns. Parallel parking.
That makes sense. It feels slow, exposed, and very easy to overthink when an examiner is sitting beside you. Most learners don't struggle because they can't steer. They struggle because they're trying to remember a generic method that doesn't match what Ontario examiners want.
The good news is that the parallel parking driving test in Ontario is far more manageable once you stop treating it like a mystery. Examiners aren't looking for magic. They're looking for control, observation, correct positioning, and a final result that meets the standard.
Why Parallel Parking Is the Test's Biggest Hurdle
Parallel parking gets so much attention for one reason. In Ontario, it matters on the test.
It's a mandatory part of the G2 road test, and candidates must finish within 30 cm of the curb without hitting markers, a requirement that contributes to approximately 25 to 30% of all G2 road test disqualifications, according to Ontario test requirement details referenced here. That single fact explains why so many learners fixate on it.
A lot of people preparing for G2 first build their foundation with the written exam, then move into parking rules and road skills. If you're still early in that process, it helps to understand how the Ontario licensing stages fit together, because the G2 test expects you to apply what began as handbook knowledge under pressure.
Why it feels harder than it is
Parallel parking is one of the few parts of the road test where the car moves slowly, but your thoughts move fast. You're checking mirrors, judging distance, turning at the right moment, and trying not to freeze if the first angle isn't perfect.
That pressure creates two common problems:
- Learners rush the setup and start too far from the parked vehicle or marker
- Learners chase perfection mid-manoeuvre instead of following a repeatable pattern
Practical rule: Examiners don't expect a stylish park. They expect a safe, controlled, accurate one.
Ontario makes this manoeuvre stricter than many learners realise. The curb distance matters. Your car must end up straight. You also have to show observation, including checks before and during the movement. A park that looks “close enough” to a friend in the passenger seat may still miss the examiner's standard.
The real reason learners fail
The biggest issue isn't usually steering. It's practising the wrong version of the manoeuvre.
Many drivers watch random videos online, then show up using reference points that don't fit Ontario testing. Others practise in oversized parking lot spaces and never learn how the car rotates into a tighter spot. By test day, they know a method, but not the one the examiner is measuring.
That's fixable. Once you know the Ontario standard and build a few dependable reference points in your own car, the manoeuvre becomes much calmer. You stop guessing and start repeating.
The Step-by-Step Method for a Perfect Park
Start with a method that's simple enough to remember when you're nervous. The goal isn't to memorise ten tiny moves. The goal is to understand what the car is doing at each phase.
This visual helps many learners lock in the flow before practising it in the car.
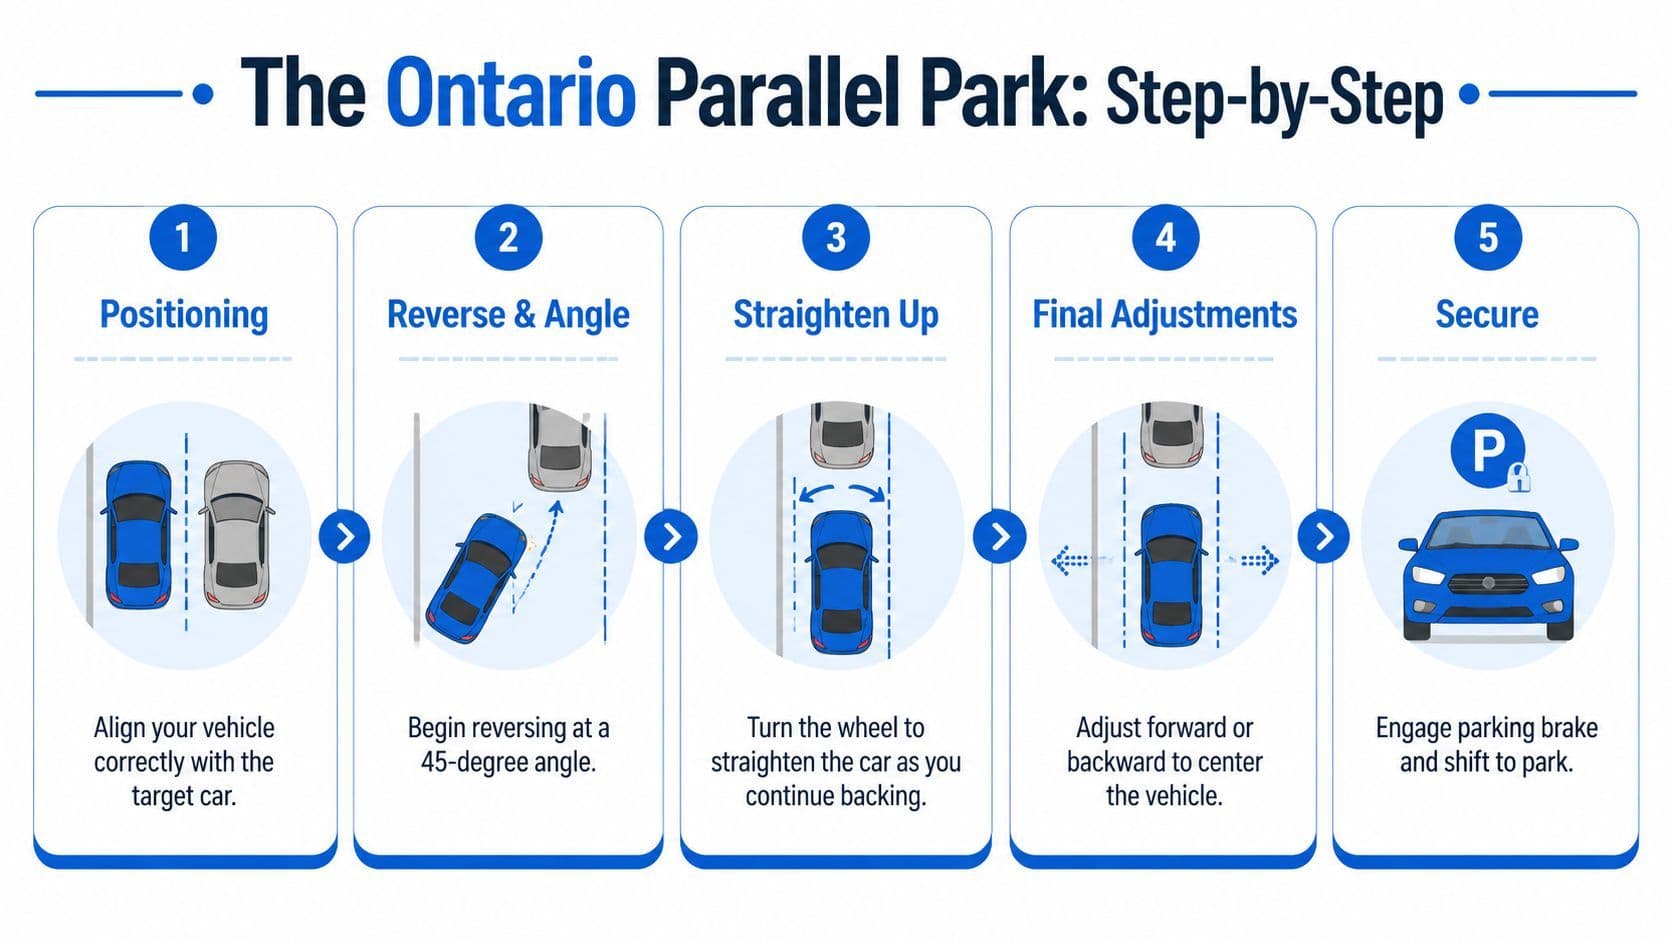
Set up the car before you move
A good parallel park usually begins before you touch reverse. The setup creates the angle. If the setup is sloppy, the rest of the manoeuvre becomes a rescue job.
A widely taught benchmark is to choose a space about 1.5 times your vehicle's length, then reverse until the driver's door handle aligns with the forward marker, with a key pivot point when the inside rear tire is about 0.6 m from the rear marker, as described in this parallel parking technique reference.
For Ontario learners, that means you should pull up beside the vehicle or front marker with enough side clearance to move back smoothly. Don't crowd it. Don't drift too far away either. You want the car parallel before you begin the reverse turn.
Here's what I tell students to do in plain language:
- Signal early: Show the examiner that you're preparing before you stop.
- Square the car: Your vehicle should sit parallel to the vehicle or marker beside it, not angled.
- Pause and observe: Check around you before reversing. That moment matters.
If your starting position is wrong, don't try to “make it work” with extra steering. Reset the setup.
Use one smooth reverse entry
Once the car is lined up, reverse slowly and begin the turn when your reference point appears. For many compact cars popular with new drivers, that reference point is when your door handle lines up with the front marker or the rear corner of the parked car beside you.
Turn the wheel decisively, not halfway. The rear of the car needs to enter first. As it swings in, keep scanning through the rear window and mirrors. You're checking curb distance, rear clearance, and the front corner of your own car as it moves inward.
Learners often get confused here, so keep the sequence simple:
- Back slowly into the angle
- Let the rear of the car enter the space
- Straighten when the car has rotated enough
- Turn the other way to bring the front in
A lot of students ask whether they should use the mirror, shoulder check, or rear window. The answer is all three, at the right times. The rear window gives your clearest sense of movement. The mirrors help you judge side spacing. Shoulder checks show the examiner that you're still aware of what's around the car.
A quick demonstration can make the flow easier to picture before you practise it.
Finish straight and controlled
The last part is where many decent attempts go bad. Learners get most of the car into the space, relax too early, and stop while still crooked or too far from the curb.
When the rear of the vehicle is in and your angle looks right, straighten the wheel and continue reversing slowly. Then turn the wheel the opposite way to bring the front end toward the curb and into line with the space. Small, calm steering inputs work better than frantic corrections.
Use this quick check at the end:
Check What the examiner wants to see Distance from curb Close enough to meet the Ontario standard Vehicle position Straight, not diagonally parked Space use Centred reasonably within the space Control No contact with curb, cones, or other vehicles
After you stop, secure the vehicle properly. If your examiner expects you to finish the manoeuvre fully, put the car in park and set the parking brake if instructed or appropriate for the test situation.
Some cars need slightly different visual cues. A Honda Civic, Corolla, Elantra, or Mazda3 won't show the curb and markers in exactly the same way from the driver's seat. That's normal. The method stays the same. Your reference points are what change. Learn where your own car's door handle, mirrors, rear wheel position, and bonnet corners line up, and the manoeuvre becomes repeatable instead of stressful.
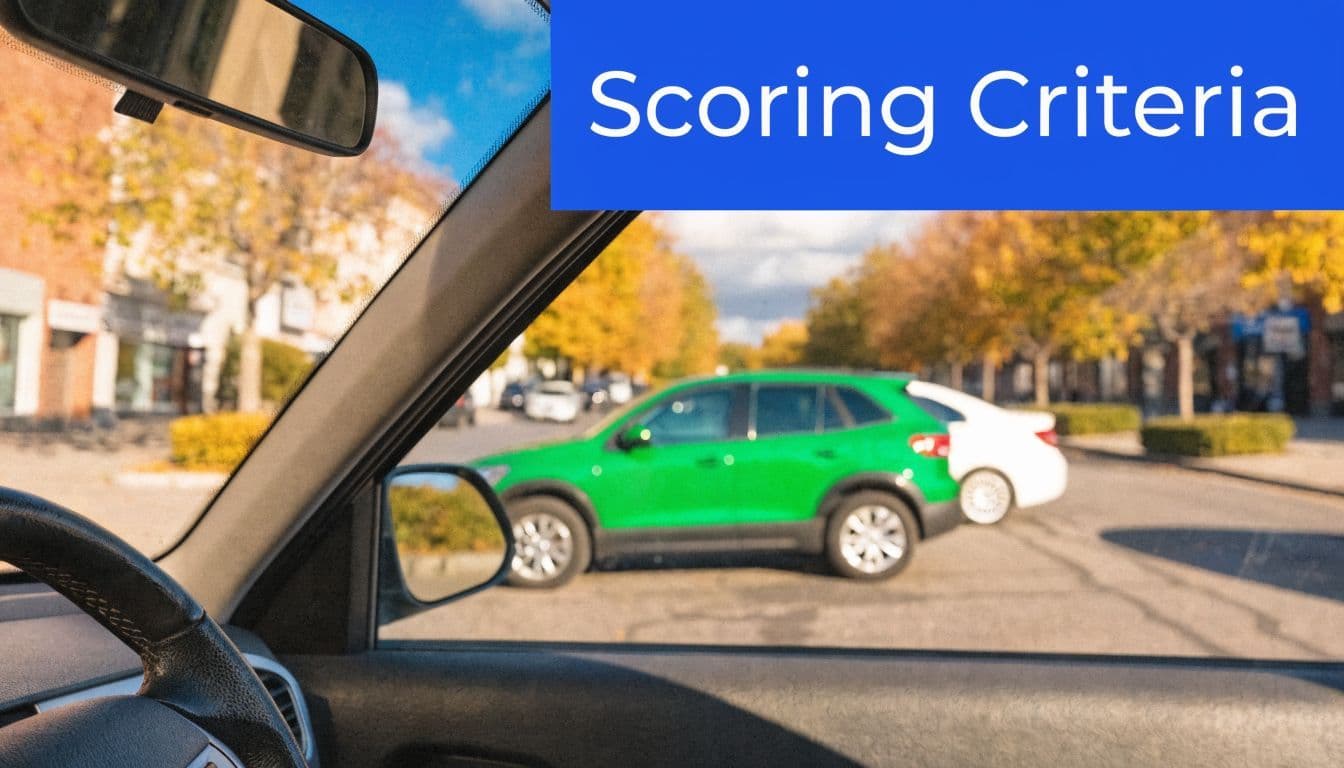
How Ontario Examiners Score Your Parallel Park
Learners often think the examiner is judging style. They're not. They're judging whether you can place the vehicle safely, accurately, and with clear control.
That's why random online advice causes trouble. Many guides are built around US standards, such as staying within 18 inches of the curb. Ontario's official requirement is 30 cm (12 inches), which is stricter in practice and causes confusion for people who trained with the wrong target, as noted in this comparison of US advice and Ontario curb requirements.
What counts as a serious error
Some mistakes tell the examiner that the manoeuvre wasn't under control. These are the ones learners should treat seriously in practice.
The big ones are easy to understand:
- Hitting the curb hard or mounting it
- Contacting a marker, cone, vehicle, or object
- Finishing clearly outside the required curb distance
- Losing control of the manoeuvre because of panic or unsafe observation
If you're unsure about parking rules around hydrants, crosswalks, or legal stopping zones, review them before test day. Those basics matter before the manoeuvre even begins, and Ontario parking rules for learners are part of the broader judgement examiners expect.
What loses marks without ending the test
Not every problem is an automatic failure. Some issues show weaker control.
Typical mark-losing habits include:
Issue Why examiners care Late or missing signal It suggests weak communication with other road users Poor observation It shows you may be focused only on the curb, not the environment Too many unnecessary corrections It can signal uncertainty and weak planning Crooked final position It suggests incomplete control of the vehicle's placement
A clean parallel park looks quiet from the passenger seat. No sudden steering, no guessing, no rushed correction.
The examiner also notices whether your actions make sense together. If you signal properly, check around the vehicle, reverse slowly, and finish in a controlled position, small imperfections don't look nearly as serious. But if the whole manoeuvre feels improvised, even a final position that seems acceptable can attract a harsher assessment.
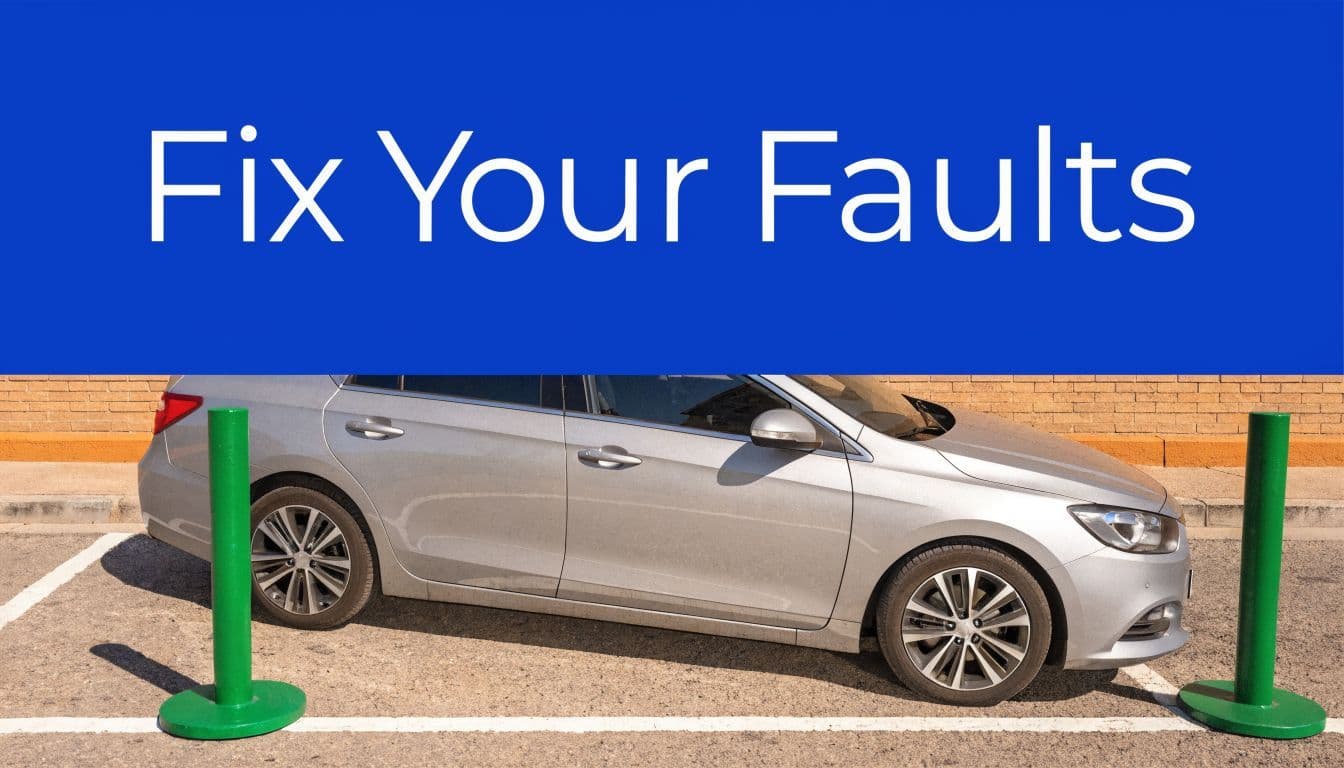
Common Mistakes and How to Fix Them
Parallel parking usually goes wrong in a very small place: the first few feet of the reverse. If the setup is off, the rest of the manoeuvre feels like chasing the car with the steering wheel.
That is why examiners often spot trouble early. They are watching for a controlled plan, not a lucky finish.
When the car ends up too close or too far
Your car follows an arc when you reverse into the space. If you turn the wheel too late, that arc gets tight and the back of the car cuts in sharply. If you turn too early, the car drifts in wide and finishes too far from the curb.
Ontario G2 examiners do not expect perfection down to the inch. They do expect you to recognize what the car is doing and correct it calmly.
Use the pattern below during practice:
- Rear wheel touches or climbs the curb: You likely let the car get too deep before beginning the first turn, or you reversed too quickly to judge distance well. Start the turn a little sooner and slow the car to a crawl.
- Car finishes far from the curb: The rear of the car did not enter the space enough before you straightened the wheel. Stay on the first steering angle a little longer.
- Front end sticks out into traffic: You did not use enough opposite steering at the end, or you stopped the manoeuvre too early. Let the front swing in and then straighten the wheels.
- Vehicle finishes crooked: Your final straighten happened late, or your starting position beside the parked car was inconsistent.
Here is the part many new drivers miss. A reference point only works if it matches your car and your seating position.
A Toyota Corolla, Honda Civic, Mazda3, or Hyundai Elantra can all need slightly different visual cues, even though the parking method looks similar on paper. If your instructor says, “Turn when the other car's bumper reaches the middle of your rear window,” treat that as a starting point, not a rule for every vehicle. A shorter hood, higher seat, or different mirror angle changes what you see.
Instructor's note: Build one repeatable set of cues for the exact car you are taking to the Ontario road test.
Technology can distract you if you have practised without it
New drivers often assume backup cameras and sensors will make parallel parking easier on the G2 test. Sometimes they do. Sometimes they pull your attention away from the checks the examiner wants to see.
The examiner is scoring your observation and control. If your eyes stay fixed on the screen, you can miss a shoulder check, lose track of the curb, or react late to the space around you. The camera is a tool. It is not your main source of information.
Before test day, sort out how you will use your vehicle's features:
- Backup camera: Glance at it, but keep scanning mirrors and looking where the car is moving.
- Parking sensors: Let the beeps confirm what you already know. Do not wait for a sound before deciding what to do.
- Auto-park features: Do not depend on them. The test is about your steering, speed control, and observation.
- Touchscreen controls: Learn them before the test so you are not fumbling with settings at the curb.
A good parallel park feels quiet inside the car. Slow hands. Slow feet. Clear checks. If something looks wrong halfway in, stop, breathe, and make one correction that makes sense. That is much closer to what Ontario examiners want than a rushed attempt to save the manoeuvre all at once.
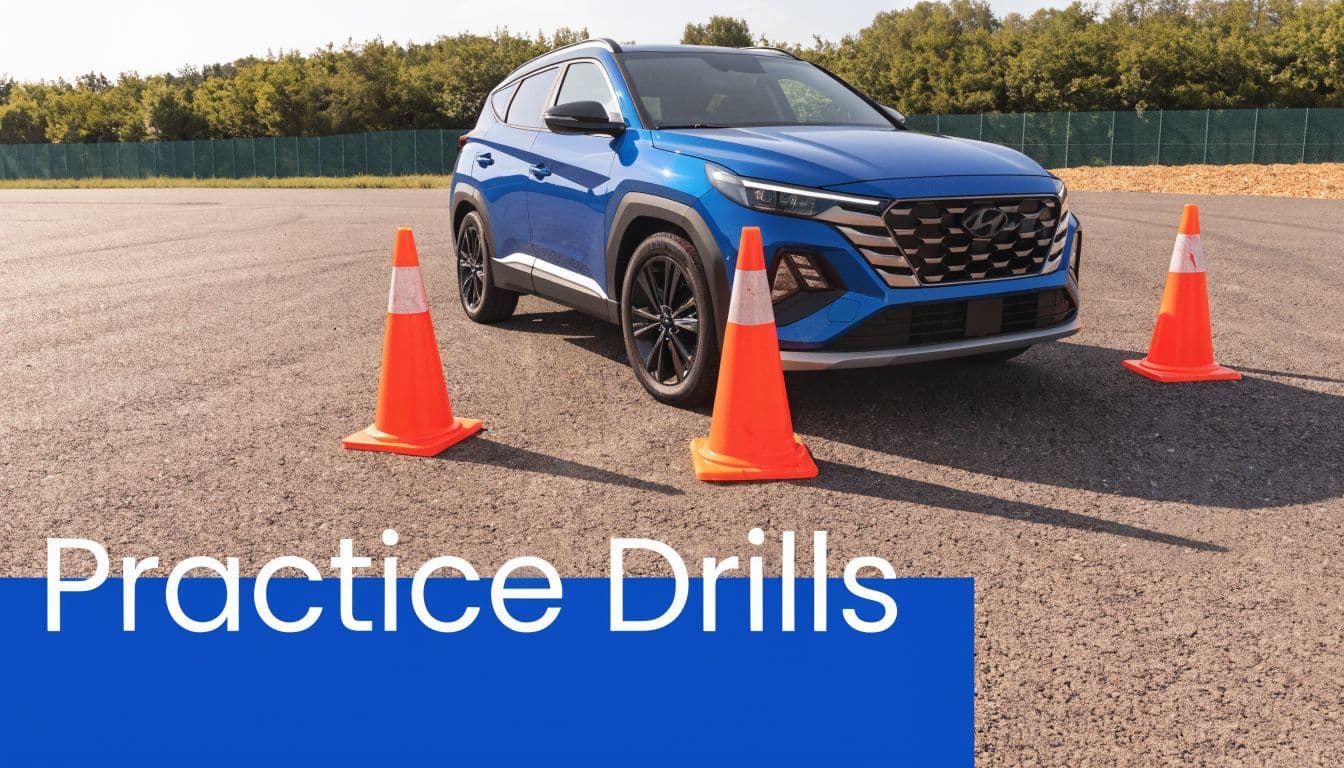
Practice Drills to Build Test Day Confidence
Confidence doesn't come from reading about parallel parking. It comes from doing the same controlled movements enough times that your hands and eyes stop arguing with each other.
That matters because a survey by the Insurance Bureau of Canada found that 52% of Ontario drivers aged 16 to 25 report high anxiety over parallel parking in their road test, and 28% name it as their single biggest fear, as reported in this survey summary on road test parking anxiety.
A simple practice routine in an empty lot
Start in a quiet lot with cones, bins, or other safe markers. Keep the environment simple so you can focus on the shape of the manoeuvre, not traffic pressure.
A useful routine looks like this:
- Practise only the setup
Pull alongside the marker vehicle or cone and stop in the same starting position several times. - Practise only the first reverse turn
Enter the angle, then stop and check where the rear of the car went. - Practise the full manoeuvre slowly
Don't rush to “pass”. Focus on repeatability. - Reset and repeat in the same car
Consistency matters more than variety at first.
If you want a study tool alongside in-car practice, G1ready.ca offers Ontario-focused practice tests and handbook-based review that can help learners reinforce parking rules, signs, and test knowledge before the road test.
How to make practice feel like the real test
After the basic movement feels familiar, change the conditions a little. Practise with a different starting point. Try a slightly tighter space. Do a few runs after sunset or on a quiet residential street with an experienced supervisor.
Confidence becomes durable at this stage. You're no longer performing one memorised trick. You're learning how to place a vehicle calmly in real conditions.
Try building each session around three goals:
- One technical goal: for example, finish straighter
- One observation goal: exaggerate mirror checks and shoulder checks
- One composure goal: keep the same pace even if the first attempt is messy
Some of your best practice sessions will feel boring. That's a good sign. Boring means the method is becoming automatic.
From Anxious Learner to Confident Parker
You are on your Ontario G2 test, the examiner asks for a parallel park, and your heart rate jumps. That reaction is common. What helps is remembering what the examiner is watching for. They are not looking for a flashy move. They want to see a safe, controlled park with good observation, steady speed, and a final position that is reasonably close to the curb.
Parallel parking feels big because several small tasks happen in sequence. A good setup. A reverse turn. A straighten-out. A final adjustment if needed. It works like backing a chair into a tight spot at a table. If the angle starts right, the rest becomes much easier to manage.
Ontario examiners also care about judgment. If you check mirrors, do a proper shoulder check, reverse slowly, and stay calm enough to correct the car once, you are showing the habits they want from a new G2 driver. That matters more than making the maneuver look perfect on the first try. In many common learner cars, such as a Corolla, Civic, Elantra, or Mazda3, the exact reference point will vary a little, which is why practice in your own vehicle matters so much.
One rough attempt does not end the test.
Many anxious learners get into trouble because they treat parallel parking like a memory stunt instead of a driving task. A better approach is to treat it as a checklist you can trust under pressure. Setup first. Observe clearly. Reverse with control. Finish straight. If the car ends a little far from the curb but still safe, an examiner may allow that. If you miss observations, touch the curb hard, roll into traffic, or lose control of the car, that is where bigger problems start.
If test day still makes you nervous, it helps to know what to expect on G1 test day. Familiarity lowers stress, and lower stress makes it easier to use the method you already practised.
If you want extra help before test day, G1ready.ca offers Ontario-focused practice tools that help learners build their rule knowledge, spot weak areas, and prepare with more structure before moving into road test practice.


