You're probably here because the phrase mirror shoulder check signal keeps showing up in lessons, videos, and practice drives, yet it still feels awkward when you need to change lanes. On paper, it sounds simple. In traffic, it can feel like too many things at once. You're steering, watching speed, listening to directions, and trying not to miss a car hiding beside you.
That's normal. Most learners don't struggle because they're careless. They struggle because they've been taught a phrase to memorize, not a decision process to follow. On the Ontario G2 road test, that difference matters. An examiner isn't just looking for random head movement. They're looking for timing, awareness, and a lane change or turn that shows you understood what was happening around you.
Why the Mirror Shoulder Check Signal Is Critical
A lot of learners tense up at the same moment. They're driving straight, the examiner says “change lanes when safe,” and suddenly their hands get tighter on the wheel. They know they should check, signal, check again, and move, but the order starts to blur.
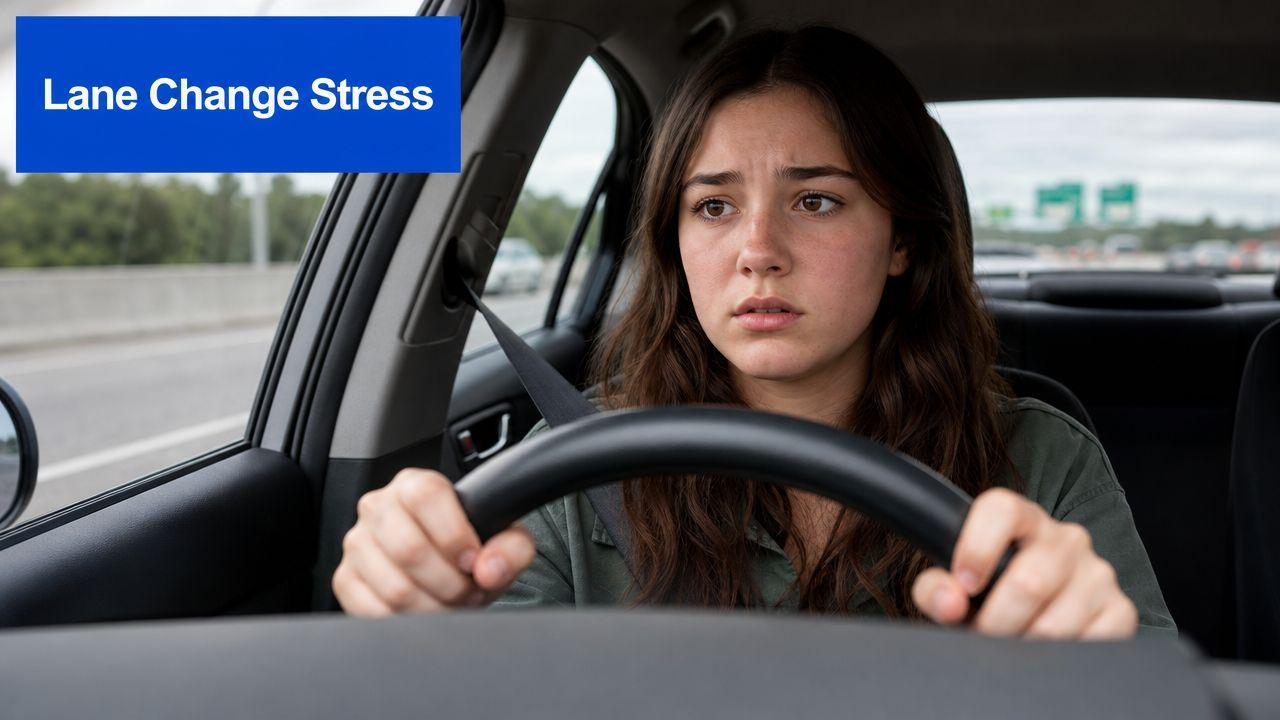
That moment tells you why this skill matters. It isn't just a test item. It's the habit that keeps you from moving into space you haven't fully checked.
If you're working toward the Ontario licensing path, it helps to understand where this fits in the bigger picture of the Class G licence system in Ontario. By the time you're at the G2 road test stage, the examiner expects this observation routine to look natural, not improvised.
It's how you communicate and verify
Each part of the mirror shoulder check signal routine has a different job.
- Signal: tells other road users what you intend to do.
- Mirrors: show what's developing behind and beside you.
- Shoulder check: confirms the space your mirrors may not fully show.
- Movement: happens only after those checks agree it's safe.
When learners think of it as one blurred action, they rush. When they understand the purpose of each piece, they calm down and sequence it properly.
Practical rule: Don't treat the routine like a chant. Treat it like a scan, then a decision.
It matters beyond the lane change
Ontario instructors commonly treat mirror, signal, shoulder check as a core observation habit before every lane change or turn. That means the routine isn't just for highways. It also applies when you're leaving the curb, preparing to merge, or turning where a cyclist or vehicle could be beside you.
That's why examiners care so much about it. They aren't checking whether you memorised three words. They're checking whether you can manage risk in real time.
Understanding the MSCS Sequence Step by Step
The easiest way to learn this is to stop thinking of it as three disconnected actions. It's one smooth routine with a clear order.
Ontario road test guidance commonly teaches mirror, signal, shoulder check as a minimum sequence before every lane change or turn, and some Ontario training videos also teach waiting for at least 3 signal flashes before moving while doing the mirror check and signal steps in parallel before the shoulder check, as shown in this Ontario road-test training video.
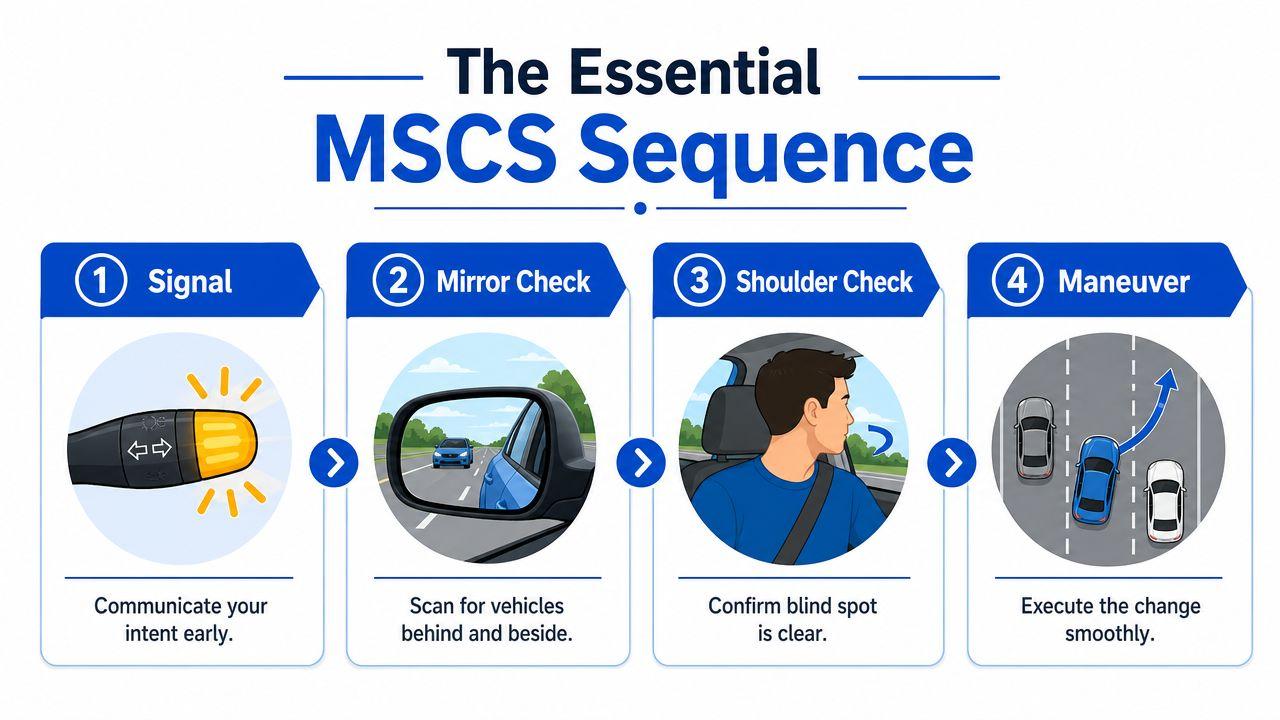
Signal first to communicate early
Many learners wait until they're almost ready to move, then flick the signal on as a last-second formality. That's too late.
Signal early enough that other drivers can recognise what you're planning. The signal is your first message to traffic. It gives the car behind you, and the driver in the next lane, a chance to respond before you start moving sideways.
A good way to think about it is simple: you are asking for space, not taking it.
If you signal early, several useful things can happen. A driver behind may ease off. A car in the next lane may pass through instead of lingering beside you. Traffic may reveal that the lane change isn't safe yet. All of that helps you make a better decision.
Mirror checks build the traffic picture
After you've signalled, you need information. That's where your mirrors come in.
Start with the rearview mirror. That tells you what's happening directly behind. Then check the side mirror for the lane you want to enter. Together, those mirrors give you the wider picture before you commit your head and eyes to a quick blind-spot check.
Here's what the mirrors help you answer:
Question Mirror that helps most Why it matters Is someone close behind me? Rearview mirror You may need to delay or adjust smoothly Is a vehicle already in the target lane? Side mirror You can't move into occupied space Is traffic approaching quickly? Both mirrors together Speed difference matters, not just distance
Mirrors are not there to replace the shoulder check. They reduce uncertainty before the final check.
The safest lane changes usually feel boring. That's because the driver gathered information before moving.
Shoulder check confirms the blind spot
This is the part learners either skip, do too early, or overdo.
The shoulder check is your final confirmation that nothing is sitting in the blind spot just before you move. It's brief, deliberate, and tied directly to the lane change or turn. If you shoulder check and then wait too long, the information goes stale. A vehicle can move into that space after your check.
Keep the head turn quick and controlled. You are checking, not sightseeing.
A useful mental script is this:
- Signal
- Read the mirrors
- Quick shoulder check
- Move smoothly if clear
The final move should feel connected to the shoulder check. If there's a big pause, do the check again.
Perfecting Your Timing for the Driving Test
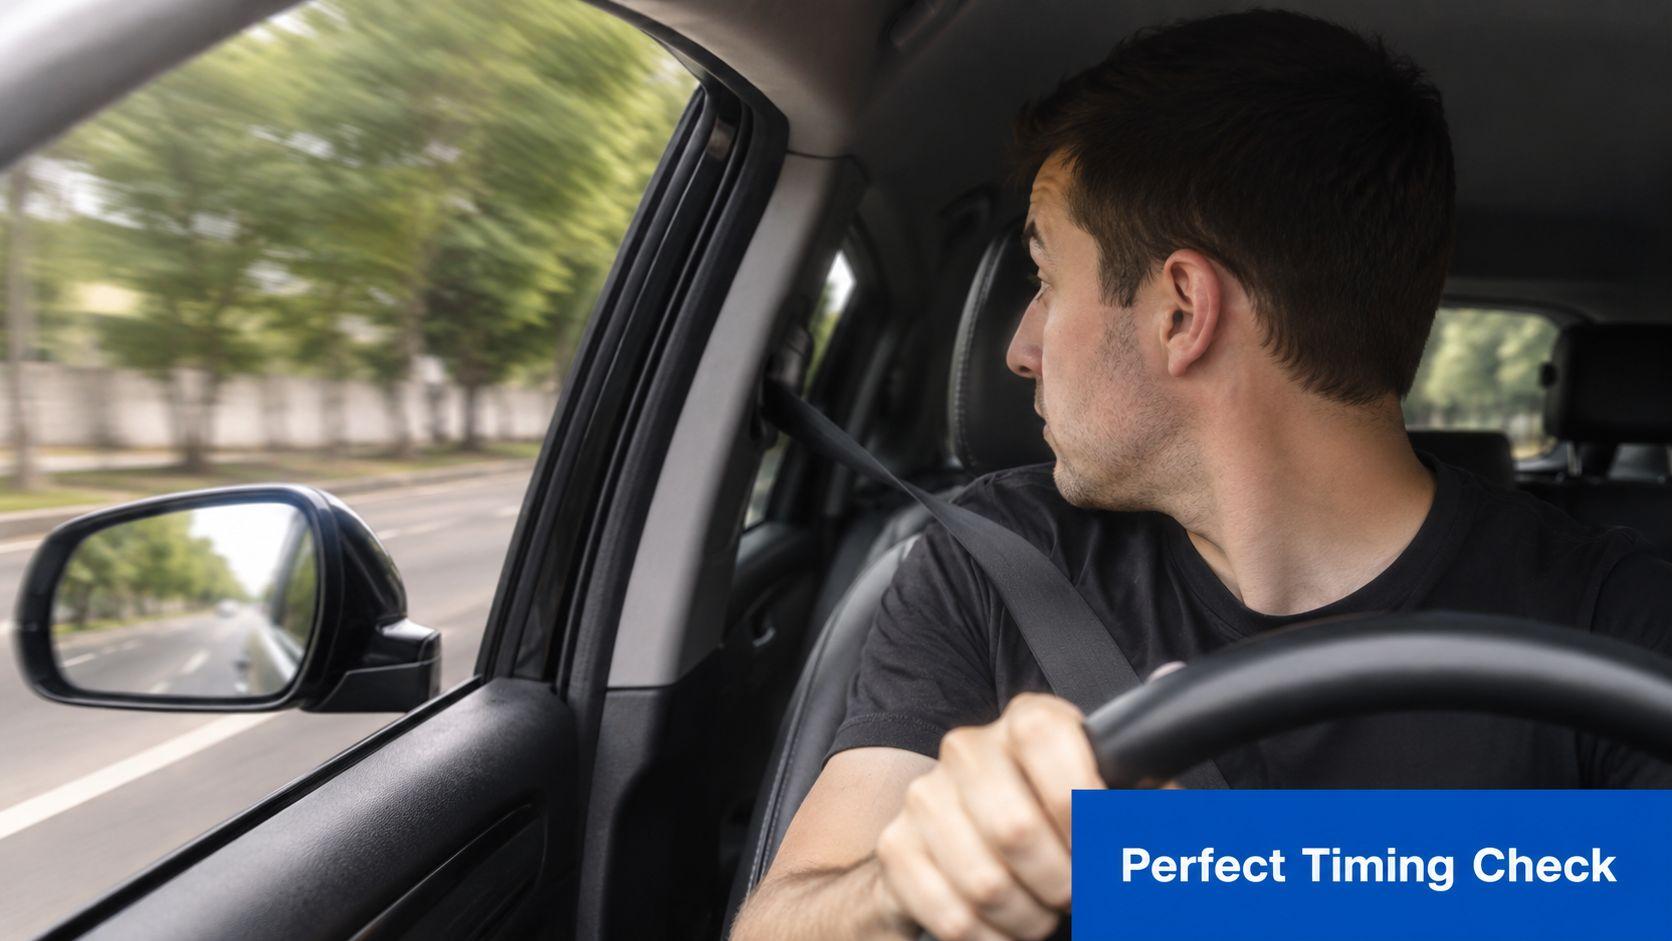
Most G2 mistakes happen in the gap between knowing the routine and timing it properly. The examiner isn't only watching whether you checked. They're watching whether you checked at the right moment.
If you want a broader sense of what gets evaluated on test day, this Ontario G2 drivers test guide can help you place observation habits in context with the rest of the route.
The moment to begin
The best timing starts before the lane line matters. As soon as you know you'll need to change lanes, prepare early instead of waiting until you're beside the obstacle, slow vehicle, or upcoming turn.
In Ontario-style lane-change methodology, the most technically defensible order is signal first, then rearview mirror, then side mirror, then a quick shoulder check immediately before lateral movement, with the shoulder check acting as the final blind-spot verification rather than a substitute for mirrors, according to this lane-change guidance on blind-spot checking.
That same guidance also describes a practical benchmark: a rapid about 90° head turn toward the target lane, done only long enough to confirm the blind spot. That matters because lingering too long takes your attention away from the road ahead.
What the examiner wants to see
Examiners usually respond well to lane changes that look calm and organised. They want to see a driver who:
- Signals before moving: not during the movement
- Checks mirrors with purpose: not with random eye flicks
- Turns the head briefly: enough to show a real blind-spot check
- Moves right after the final check: if the space is clear
- Keeps the car steady: no weaving while observing
A common point of confusion is when else to shoulder check. It's not only for a standard lane change. You should also be ready to use it when merging, pulling out from the curb, and before turns where someone could have entered the blind spot.
If the shoulder check happens too early, it no longer protects you at the moment you actually move.
That one detail separates a routine done for appearance from a routine done for safety.
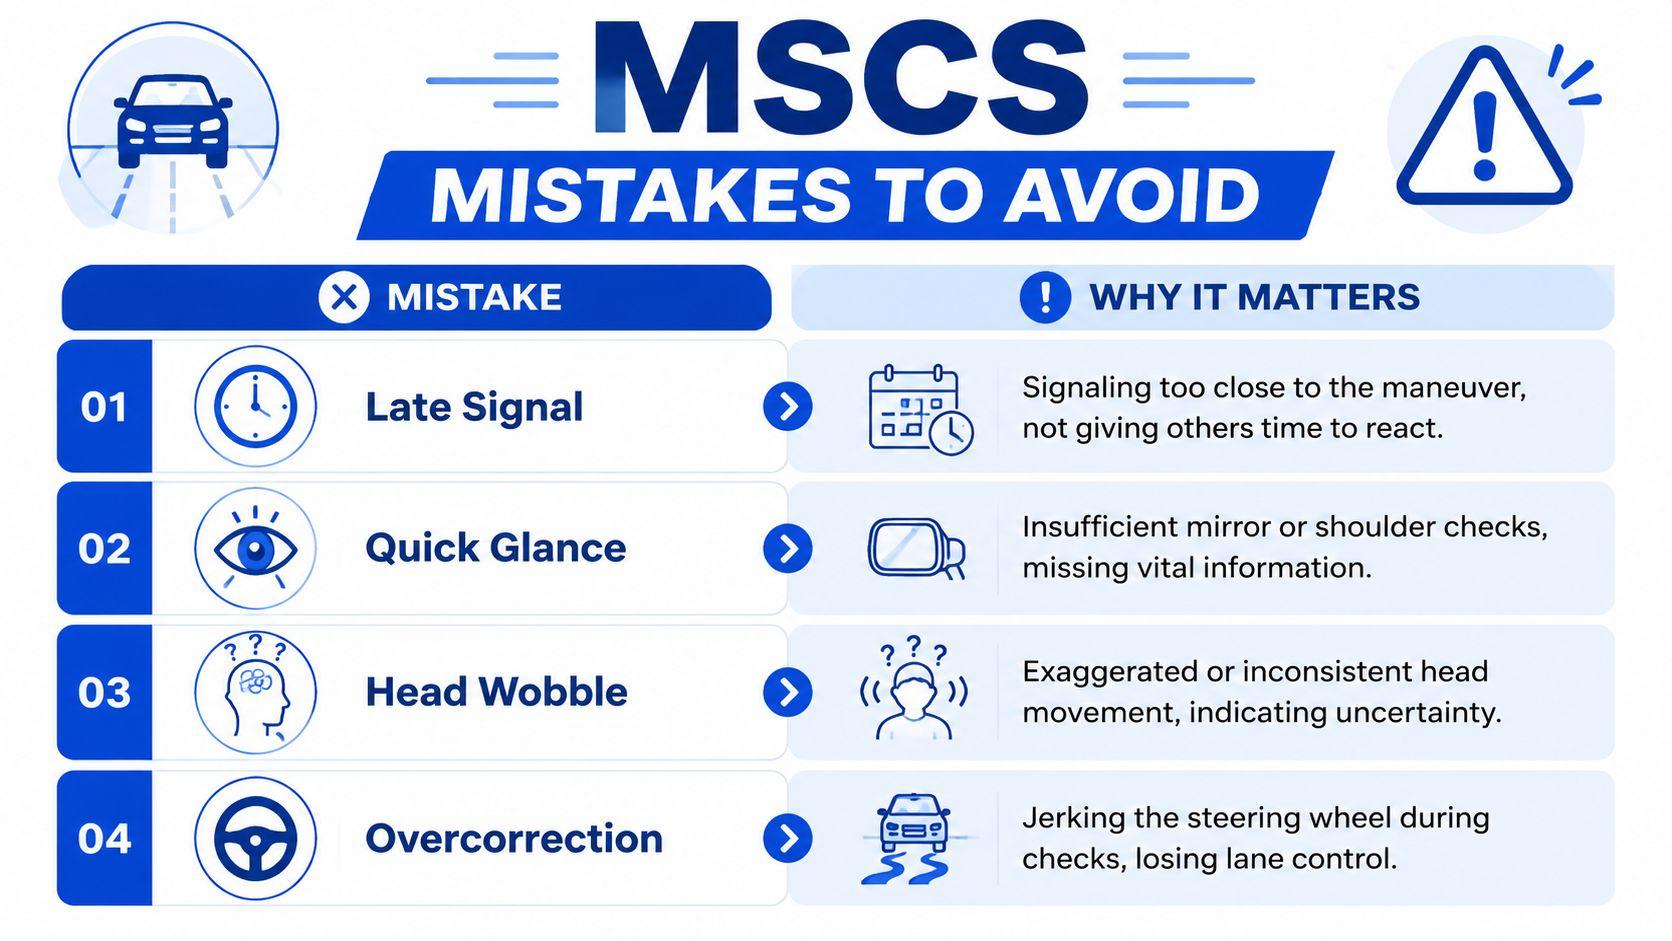
Common Mirror Shoulder Check Signal Mistakes to Avoid
Bad habits in this area often look small from inside the car. To an examiner, they stand out immediately because they affect both safety and control.
Doing the check too early
This is one of the most common timing errors. A learner signals, glances over the shoulder, then waits while deciding whether to go. By the time the car starts moving, the blind spot may have changed.
The fix is straightforward. Save the shoulder check for the last moment before the move. If you hesitate, repeat the final check.
Using the shoulder check instead of mirrors
Some nervous drivers over-focus on the blind spot and forget the overall traffic picture. That creates a different problem. You may miss a fast-approaching vehicle behind you, or fail to notice that traffic conditions make the lane change unwise even if the blind spot itself is empty.
Mirrors and shoulder checks do different jobs. Don't swap one for the other.
Letting the car drift during observation
A shoulder check should never pull the vehicle with it. If your hands tighten or your steering follows your head, the lane position starts to wander.
Try this correction during practice:
- Keep light, steady hand pressure: Don't turn the wheel while turning your head.
- Shorten the glance: The longer you hold it, the more likely the car drifts.
- Check posture: Sit upright so the head turn is easy and controlled.
- Practise on straight sections first: Build the habit before adding busier traffic.
Signalling without commitment
Another mistake is using the signal casually. Some learners turn it on, leave it blinking, and continue driving without making a decision. That confuses other road users and makes your intentions harder to read.
A better pattern is this:
Mistake Why it's risky Better habit Late signal Others get little time to react Signal early Long delay after signal Traffic can misread your plan Assess promptly Signal during the move Communication comes too late Finish the checks first Cancel forgotten Others think you're still moving over Cancel as soon as the manoeuvre is complete
You want your mirror shoulder check signal routine to look deliberate. Not exaggerated. Not theatrical. Just clear.
Beyond the Basics Advanced Situational Awareness
A strong routine starts before the car even moves. If your mirrors are poorly adjusted, the shoulder check becomes a rescue move instead of a final confirmation.
Set the mirrors before you drive
A more advanced setup taught in road-safety instruction is the BGE, or blind-spot-reducing mirror position. In that method, each outside mirror is angled outward by about 15 degrees from the traditional blindzone setting so you can see the adjacent lane earlier and reduce overlap, as described in this explanation of BGE mirror positioning.
That same guidance gives a practical test. As a vehicle approaches from behind, it should appear in the inside mirror before leaving it, then appear in the side mirror before disappearing from your peripheral view, with no full gap in visibility.
What better mirror setup changes
This doesn't remove the need for a shoulder check. It makes the shoulder check faster and cleaner.
When mirrors are set too far inward, drivers create a larger rear-quarter blind area. Then they feel they have to whip their head farther and longer to be sure. That often leads to over-rotation, delayed movement, and shaky lane control.
With a better mirror setup, the routine becomes easier to manage:
- Mirrors do more of the early work: You spot approaching vehicles sooner.
- The shoulder check becomes shorter: It confirms, rather than searches.
- Your decision feels calmer: Less guesswork, more continuity.
One practical study tool is to compare your setup with trusted educational material. For written-rule review and Ontario study practice, G1ready.ca offers handbook-aligned quizzes and explanations that many learners use alongside in-car instruction.
Drills to Make the Mirror Shoulder Check Automatic
You don't build this habit by thinking harder on test day. You build it by repeating the same clean sequence until your eyes and hands know what to do.
Start in a parked car. Sit properly, place your hands on the wheel, and rehearse the movement without driving. Signal. Check the rearview mirror. Check the side mirror. Turn your head briefly toward the blind spot. Return forward. Reset and repeat.
Then move to an empty parking lot. Use the painted lines as pretend lanes. At low speed, practise the full routine and a gentle lane movement. Keep it smooth and don't rush.
On a quiet residential street, work with a supervising driver and add real traffic judgment. Pick safe, low-pressure moments and say the sequence to yourself until it becomes visual instead of verbal.
A good complement to this practice is reviewing other test habits that require the same calm, repeatable control, such as parallel parking for the driving test.
Repetition should make the routine smaller, not bigger. The better you get, the less dramatic it looks.
If you're preparing for the Ontario licence process and want extra rule review between drives, G1ready.ca provides practice tests, explanations, and study tools built around the current Ontario handbook.