You're probably at the point where the idea has stopped being abstract. You've looked at bikes, watched ride videos, maybe priced out insurance, and now you want the practical answer to one question: what does the motorcycle test for license process look like in Ontario?
That's the right question to ask early, because the licensing path is manageable when you understand it, and annoying when you don't. Most delays happen for ordinary reasons. People study the wrong material for the M1, underestimate slow-speed riding for the M2, or show up with a bike or gear issue that should have been caught in the driveway.
Ontario's process isn't there just to slow you down. It's designed to move you from beginner judgment to real-world riding, one step at a time. If you treat each stage as skill-building instead of red tape, you'll save yourself time, money, and a lot of frustration. For broader Ontario learner-licensing reading, the collection of licensing guides on G1ready.ca is a useful starting point.
The Rider's Journey Starts Here
Most new riders start the same way. They don't wake up obsessed with licensing rules. They want the feeling of riding, the independence, the machine, the quiet focus that only happens when you're balancing throttle, clutch, and road all at once.
Then reality arrives. In Ontario, you don't go from zero to full licence in one jump. You move through M1, then M2, then the full M. That sounds bureaucratic until you spend time around new riders and see where people struggle. The first hurdle is knowledge. The second is control. The last is judgment in traffic.
That progression makes sense.
A rider who can answer handbook questions still might not be smooth at parking-lot speed. A rider who can handle a bike in a closed lot still might not scan properly in busy traffic. The licensing path separates those skills so you can build them in the right order.
Riding confidence comes from stacking small wins. Passing one stage cleanly is better than rushing into the next one half-prepared.
If you're feeling equal parts excited and overwhelmed, that's normal. The process is straightforward when you treat it like a plan instead of a mystery. Know what each stage expects, choose the right training path for your situation, and avoid the preventable mistakes that trigger cancellations, retests, and wasted days.
Ontario's Graduated Motorcycle Licensing Path
Ontario uses a graduated system because motorcycle riding punishes overconfidence fast. The province wants beginners to earn experience before they get full privileges, and from a rider's point of view, that's sensible. Each level gives you more freedom, but only after you've proved something different.
For a plain-language overview of how graduated licensing works across Ontario licence classes, this explainer on Ontario graduated licensing gives helpful background.
Why the stages matter
The M1 is your entry point. It starts with a knowledge test and gives you a limited learner stage. In this stage, you prove you understand road rules, signs, and the basics of motorcycle-specific safety.
The M2 is the first stage where your riding skill matters directly. To get there, you either pass the M1 exit route through approved training or a road test path, depending on your circumstances and the option you choose. At this stage, riders usually discover whether they've built real low-speed control or only felt comfortable riding in a straight line.
The full M is the unrestricted goal. That last step is about mature roadcraft. Examiners want to see that you're not just operating a motorcycle. You're reading traffic, making space, and behaving like a rider who can manage everyday roads consistently.
Ontario Motorcycle Licence Levels at a Glance
Feature M1 Licence M2 Licence Full M Licence What it represents Beginner motorcycle learner stage Intermediate motorcycle stage Unrestricted motorcycle licence Main requirement to get it Pass the motorcycle knowledge test Pass the required M1 exit pathway Pass the final motorcycle road test What the focus is Rules, signs, restrictions, basic awareness Core bike control and safer early riding Real-world traffic judgment and consistency Typical rider challenge Studying properly instead of guessing Low-speed manoeuvres and nerves Observation, lane choices, and decision-making Common mistake Treating it like a car-only test Under-practising slow control Riding mechanically instead of proactively Best mindset Learn the rules thoroughly Train with intention and repetition Ride calmly, visibly, and deliberately
A lot of frustration comes from people focusing only on the next booking, not the full path. If you know where you are headed, your choices get easier. You can decide whether to invest in a safety course, when to buy a bike, and how much practice you need before you put money on the line for a test.
Mastering the M1 Knowledge Test
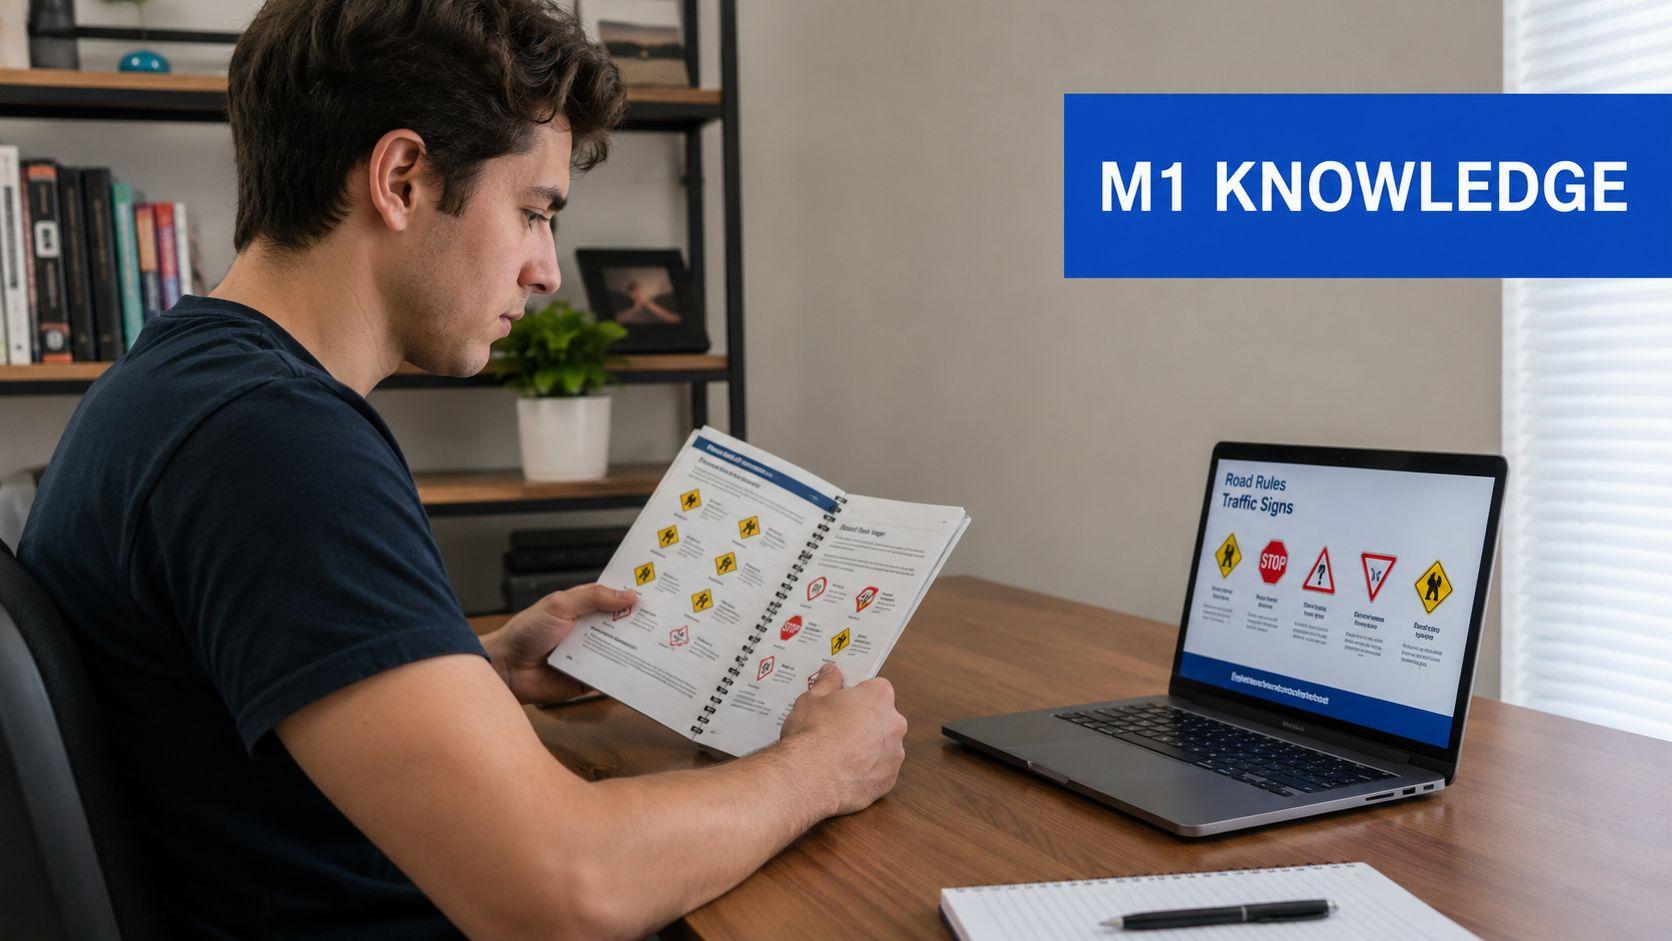
The M1 catches people who assume “I already know the road.” That's usually the wrong attitude. The test isn't asking whether you've sat in a car before. It's checking whether you understand Ontario traffic rules, signs, and motorcycle-specific risk well enough to start as a learner.
What the M1 test is really checking
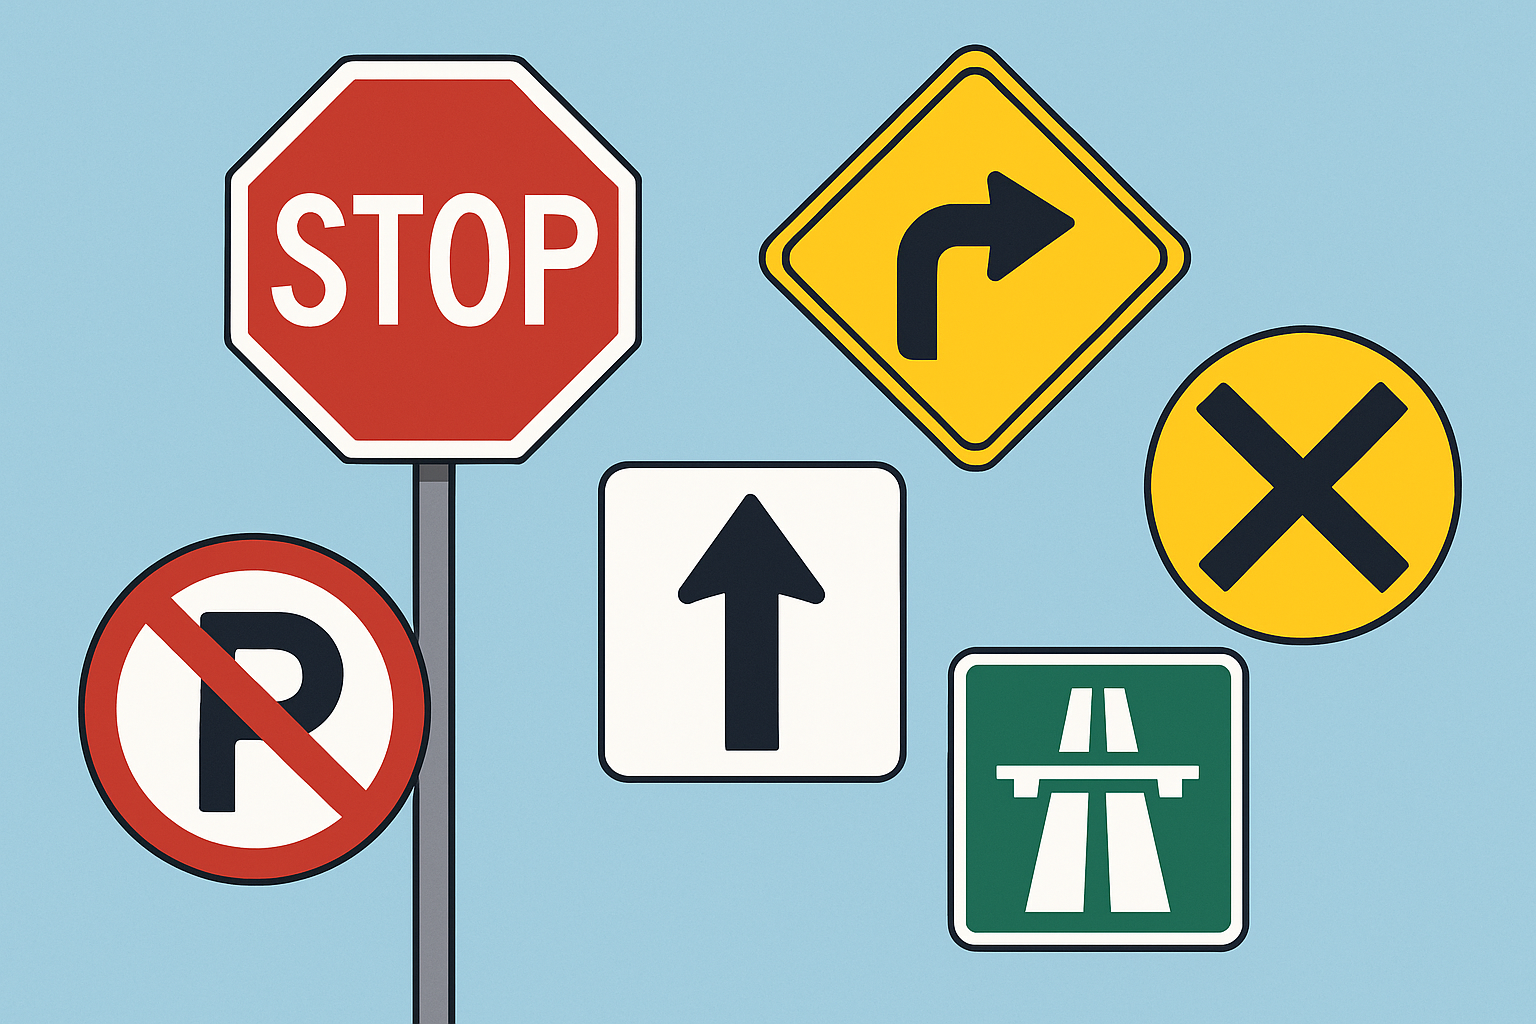
The M1 test covers two main areas. The first is rules of the road. The second is traffic signs. If you've already looked at car-licensing material in Ontario, some of that content will feel familiar because the road system is shared. What changes is the riding context. On a motorcycle, lane position, hazard awareness, and defensive thinking matter in a more exposed way.
That's why cramming random practice questions without reading the official material often backfires. A rider memorises answers but misses the pattern behind them. Then the wording changes slightly on test day, and confidence disappears.
Practical rule: Start with the official MTO motorcycle handbook, then use practice questions to expose gaps, not replace the handbook.
How to study without wasting time
The cleanest study method is simple.
- Read the handbook once for meaning: Don't race through it. Pay attention to signs, right-of-way situations, and riding-specific safety advice.
- Break your practice into categories: Study signs separately from rules. Mixing both too early can hide weak spots.
- Review wrong answers immediately: If you miss a question, find the rule behind it. Don't just note the correct option and move on.
- Use overlap to your advantage: Because many signs and core road-rule concepts overlap with G1-style study, that material can still sharpen your recognition and recall.
One mistake I see often is riders spending all their energy on obscure motorcycle trivia while dropping easy points on ordinary road signs. That's backwards. Clean up the basics first. Then tighten your understanding of motorcycle-specific scenarios.
What to bring and what to expect
The M1 is usually less stressful when you know the logistics beforehand. Bring your required identification, make sure names and documents line up properly, and give yourself extra time instead of arriving rushed. Administrative mistakes are avoidable, but they're common when someone is excited and unprepared.
At the test centre, expect a formal process rather than a friendly clubhouse atmosphere. Staff are moving a lot of people through. Be organised, be patient, and follow instructions carefully.
A good pre-test rhythm looks like this:
- The day before: gather ID, confirm the location, and review signs one last time.
- The morning of: eat, hydrate, and don't try to learn brand-new material.
- At the centre: read each question fully. Eliminate obvious wrong answers before choosing.
- After the test: if you pass, start thinking immediately about the next stage rather than treating the M1 as the finish line.
The M1 is the easiest part to underestimate and the easiest part to handle well if you study properly.
Preparing for Your M2 Road Test
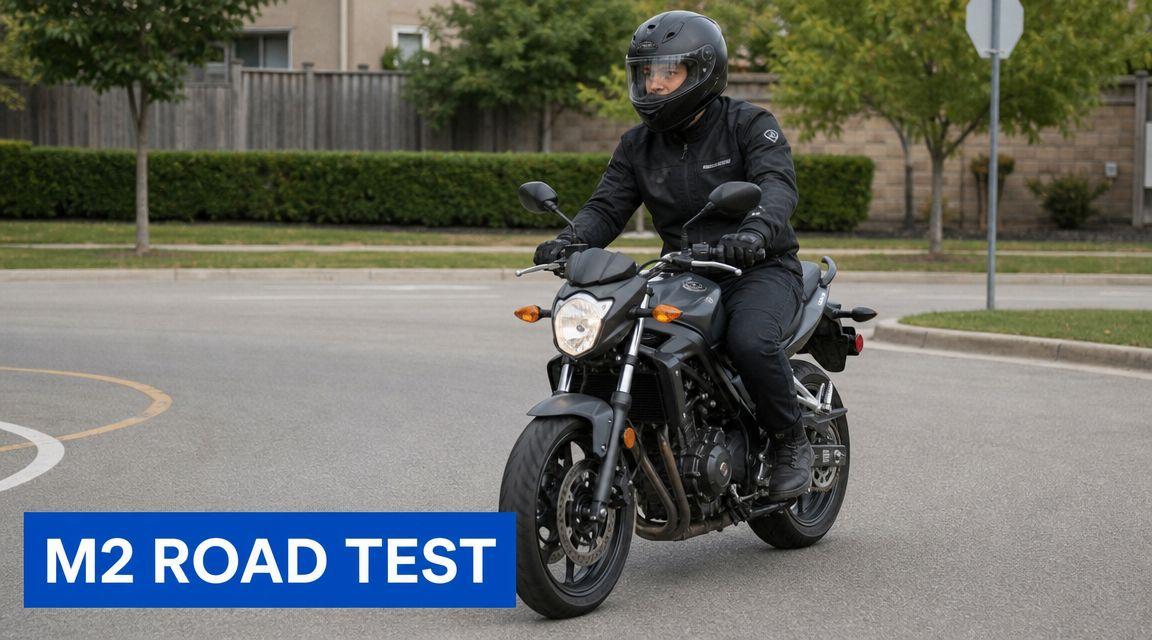
At this stage, the process starts to feel real. The M2 step is the first time your actual riding gets evaluated, and it's often when many beginners learn that “I can ride around the block” isn't the same as being ready for a motorcycle test for license.
Safety course or direct challenge
Ontario riders usually think about this stage in two ways. One path is an approved motorcycle safety course. The other is the direct challenge route, where you prepare yourself and take the required test without course-based instruction.
Here's the actual trade-off.
Path What works well What doesn't Safety course Structured coaching, supervised drills, better feedback, less guesswork Higher upfront cost, fixed schedule, not ideal if you already have strong fundamentals Direct challenge Lower immediate cost, more flexible timing, works for self-directed riders Easy to build bad habits, harder to judge readiness, practice setup is on you
For many beginners, a course is the cleaner option because it compresses a lot of learning into a short period. Instructors can spot things you won't notice on your own, especially head position, clutch control, braking habits, and where your eyes go in turns.
The direct route can still make sense. If you already have legitimate riding experience, access to a suitable practice area, and someone honest enough to critique you, it's a valid path. What doesn't work is guessing your way through low-speed drills and hoping adrenaline carries you on test day.
What the riding evaluation rewards
A useful benchmark comes from standard rider skill-test material. The evaluation centres on low-speed control at roughly 12 to 18 mph and includes exercises such as cone weave, normal stop, quick stop, and swerve. That same material notes the cone weave uses five cones and that stalling the engine four times is an automatic failure according to the rider skill test diagrams and instructions.
That matters because many riders practise the wrong thing. They spend time accelerating hard, cruising comfortably, or doing broad easy turns. Test performance usually comes down to steadiness at low speed, smooth clutch-throttle control, clean braking, and disciplined observation.
If you can't ride slowly with confidence, you're not ready, even if you feel fine at regular road speed.
A useful visual can help you picture the kind of control these tests demand:
How to choose the better path for you
Choose the course if any of these sound like you:
- You're completely new to motorcycles: Coaching will shorten your learning curve.
- You get anxious during evaluations: Repetition with instructors builds calmer habits.
- You want a more organised path: A course keeps you practising the right drills.
Choose the direct route if this sounds more like you:
- You already ride competently in controlled settings: You're refining, not learning from scratch.
- You have dependable access to practice space: Empty lots and patient repetition matter.
- You can self-coach objectively: That's rare, but valuable if true.
The best choice isn't the cheapest one on paper. It's the one least likely to cost you a failed attempt, a rebooking, and another stretch of riding with avoidable bad habits.
Booking Your Tests and Understanding Fees
The administrative side is where riders lose patience. Not because it's hard, but because small oversights create big delays. Wrong location, wrong date, missing confirmation, stale paperwork. None of that teaches you to ride better, but all of it can slow your progress.
For related Ontario licence cost and renewal context, this overview of driving licence renewal fees gives useful background on how these systems are typically organised.
How to book without creating your own headache
When you're ready to book, treat it like a transaction that needs double-checking.
- Choose your location carefully: Don't just take the first available slot. Pick a site you can realistically reach with time to spare.
- Read every booking screen twice: Date, licence class, and test type all matter. One wrong click can mean showing up for the wrong thing.
- Save proof immediately: Screenshot confirmations, save emails, and put the appointment in your calendar.
- Check cancellation and rebooking rules before you need them: Riders often look this up only after something goes wrong.
A practical habit helps here. Keep one folder on your phone for all licensing items: confirmations, ID photos, notes about what to bring, and any correspondence. On test week, that organisation pays off.
How to think about fees and retests
Fee structures can change, and test packages aren't always understood the same way by every applicant. The safe move is to verify current pricing and package details directly through the official booking and testing channels before you pay. Don't rely on a friend's memory, an old forum post, or a social media comment.
What matters strategically is this: a retest isn't just another fee. It usually costs you momentum too. You may need another booking window, more bike availability, more time off work, and more time managing nerves.
That's why I tell riders to budget in two layers:
- The official testing costs
- The indirect costs of being underprepared
The second layer is what stings. A failed day often costs more in hassle than in money.
Motorcycle and Safety Gear Requirements
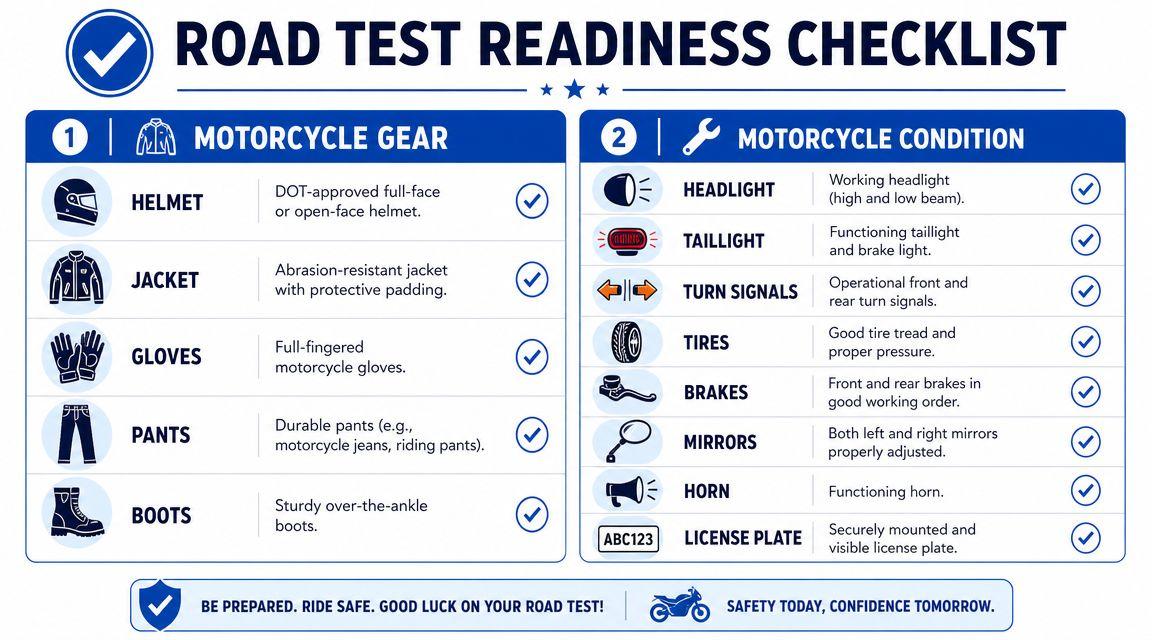
A lot of riders think test day begins when the examiner walks over. It doesn't. It begins in your driveway, when you discover whether your bike is road-test ready and whether your gear will pass inspection without an argument.
Bike checklist before you leave home
Your motorcycle needs to look and function like a machine that belongs on the road. Examiners aren't there to troubleshoot neglected maintenance.
Use this pre-ride check:
- Lights: Confirm the headlight works properly, including high and low beam if applicable.
- Rear visibility: Make sure the taillight and brake light both respond correctly.
- Signals: Test front and rear turn signals.
- Brakes and tyres: Check braking feel, tread condition, and tyre pressure.
- Mirrors and horn: Both should work as expected and be adjusted for actual use.
- Plate and general condition: Your plate should be secure and visible, and the bike shouldn't look obviously unsafe.
Show up early enough to do one last walk-around in the parking area. Catching a problem there is still better than discovering it in front of the examiner.
Rider gear that won't get you turned away
Your gear should communicate one thing immediately: you came prepared to ride properly.
At minimum, think in terms of coverage, control, and compliance.
- Helmet: Wear an approved motorcycle helmet in good condition.
- Jacket: Choose something sturdy, ideally abrasion-resistant rather than a light casual layer.
- Gloves: Full-fingered gloves are the smart choice because they protect and improve control.
- Pants: Durable riding pants or heavy pants are far better than anything flimsy.
- Boots: Wear over-the-ankle boots with good support and grip.
Missing required gear or arriving on a bike with obvious defects can get your test cancelled on the spot. That kind of loss is completely preventable.
What doesn't work is trying to “get by” with almost-correct gear. Fashion shoes, thin gloves, or a questionable helmet are bad bets. Test days are not the time to negotiate standards. Bring what clearly meets the mark and lets the examiner focus on your riding.
Common Mistakes and Your Test Day Checklist
Most failures don't happen because the rider has zero ability. They happen because a capable person makes a handful of avoidable errors under pressure. That's good news, because avoidable errors can be reduced.
The errors that sink otherwise capable riders
For the M1, the classic mistake is studying by pattern recognition instead of understanding. A rider memorises answer shapes, gets thrown by different wording, and loses easy marks. If you don't know why a rule exists, keep reviewing.
For the M2, the biggest trouble spots are mechanical, observational, and emotional all at once.
- Foot down at the wrong time: That usually means the rider entered too slowly without stable control, or looked down instead of through the manoeuvre.
- Repeated stalling: As noted earlier, some standard skills-test guidance treats four stalls as an automatic failure in the rider skill test instructions. Even when your exact Ontario evaluation context differs, repeated stalls still signal weak clutch control.
- Missed shoulder checks: Riders often know they should do them, but nerves make them skip the obvious.
- Rushing drills: Fast hands and hurried decisions create jerky riding.
- Using an unfamiliar bike: A new-to-you clutch or brake feel is a terrible surprise on test day.
Ohio's motorcycle process offers a useful reminder about why execution matters. The Ohio BMV states that riders must pass a motorcycle knowledge test to get a TIPIC, allows eligible adults with a valid Ohio driver licence to complete the endorsement knowledge test online, and requires a one-week wait to retest if any part of the skills test is failed, according to the Ohio BMV motorcycle licensing page. The takeaway for Ontario riders is simple. Don't treat a failed element casually. Delays have real consequences.
Your morning-of checklist
Use this once, calmly, before you leave:
- Documents ready: Licence, booking confirmation, and any required paperwork.
- Gear laid out: Helmet, gloves, jacket, pants, boots.
- Vision sorted: Glasses or contacts if you need them.
- Bike checked: Fuel, lights, signals, tyres, brakes, horn, mirrors.
- Body ready: Water, food, and enough time that you're not flustered.
- Head clear: No last-minute cramming, no showing off, no rushing.
The best test-day mindset is quiet competence. Ride the way an examiner wants to trust you. Smooth starts. Deliberate checks. Stable low-speed control. Nothing dramatic.
If you're still preparing for the written side of Ontario licensing and want a simple way to practise signs and road rules, G1ready.ca offers free, registration-free practice tests that are easy to use on your phone or computer. It's a practical way to sharpen the knowledge habits that help at the start of the licensing journey.