
You're approaching a quiet residential street, and the examiner is sitting beside you with a clipboard. A suitable space opens beside the curb, but your hands suddenly feel less certain than they did during practice. You signal, slow down, and remind yourself that parallel parking isn't a trick. It's a controlled sequence of positioning, observation, steering, and correction.
Before practising, make sure you know which Ontario test you're preparing for. Ontario removed parallel parking from the G-class road test in January 2022, along with roadside stops and three-point turns, to reduce exam backlogs. The modified G test doesn't include elements already assessed in the G2 test, as explained on the official DriveTest road-test information page. Parallel parking remains a foundational skill and is still relevant to the G2 exit test, so these parallel parking tips for driving test preparation focus on the manoeuvre you need to perform safely and confidently.
What the Examiner Is Looking For
As you pull beside the space, the examiner watches for controlled driving, clear observation, calm corrections, and a safe final position. The goal is steady decision-making, not a dramatic steering performance.
The Ontario driver handbook's parallel-parking guidance describes success in practical terms. Your vehicle should finish parallel to the curb, without hitting the curb or touching another vehicle. If there is no curb, park off the travelled portion of the road.
The finish matters more than a dramatic entry
An imperfect starting angle can be corrected with slow, deliberate steering. Fast turns, missed shoulder checks, or a final position angled well away from the curb create safety concerns, even if the vehicle enters the space.
The handbook describes a suitable space as about one and one-half times the length of your vehicle. It also gives practical reference points: leave roughly 1 metre between your vehicle and the parked vehicle, stop with your rear bumper aligned with the vehicle ahead, then reverse through the steering sequence. These points make the manoeuvre repeatable instead of guesswork.
Practical rule: If you are unsure, slow down, look again, and make a controlled correction. A brief pause is easier to manage than a rushed steering error.
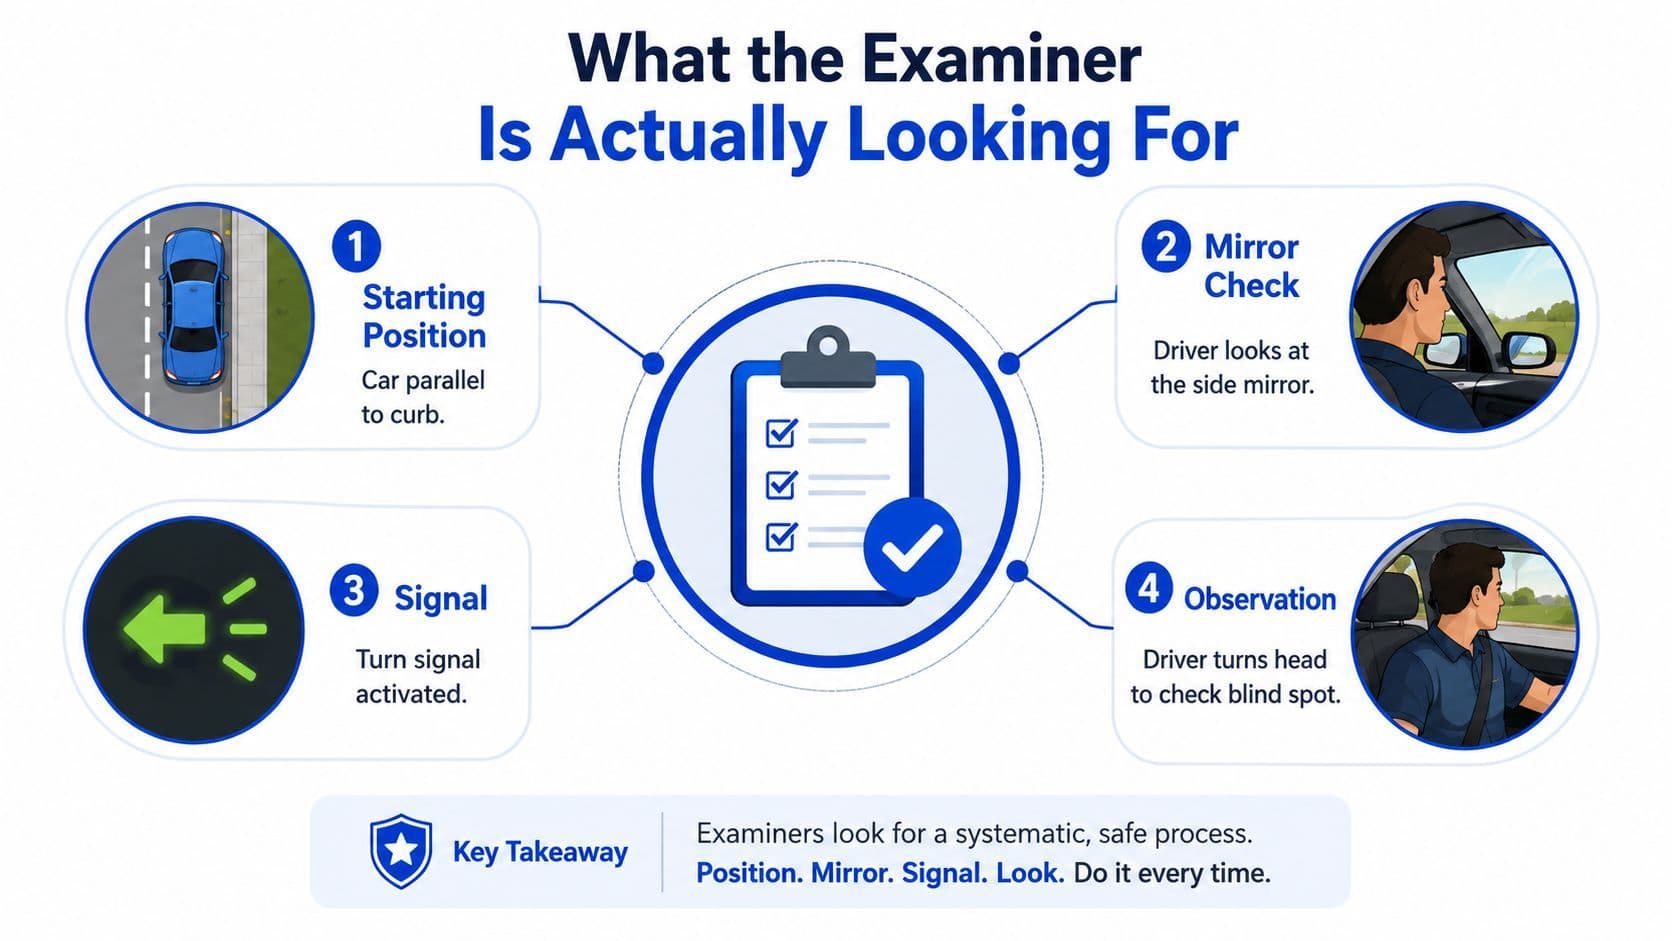
The examiner assesses four connected tasks:
- Prepare safely: Choose a workable space, signal, and position the vehicle correctly.
- Observe continuously: Use mirrors and shoulder checks before and during movement.
- Steer progressively: Turn toward the curb, straighten at the right point, then turn away from the curb.
- Finish legally: Leave the vehicle parallel, clear of other vehicles, and properly positioned beside the road.
A calm routine gives the examiner clear evidence that you can control the vehicle and respond to what surrounds it. The final position should look safe and deliberate, not hurried or forced.
Setting Up the Approach Before You Turn the Wheel
Most difficult parallel parks begin before the steering wheel moves. If your starting position is wrong, even excellent steering can produce a poor final position.
Select the space and communicate early
Scan ahead rather than braking sharply beside the first opening. The Ontario handbook recommends a space about one and one-half times the length of your vehicle. A space that gives you room to enter gradually is easier to manage than one that forces hurried corrections.
Activate your right turn signal as you approach. Check the rear-view and side mirrors for vehicles, cyclists, and pedestrians, and reduce your speed smoothly. The examiner needs to see that you've identified the space without creating a surprise for anyone behind you.
Pull alongside the vehicle at the front of the space. Keep approximately 1 metre of side clearance, consistent with the Ontario handbook's parking instructions. You should be close enough for the manoeuvre to work, but not so close that the mirror or front corner feels threatened.
Match the reference points
Stop when your rear bumper is in line with the rear bumper of the vehicle ahead. Use the driver's side mirror, the front vehicle's position, and a shoulder glance to confirm the alignment. Don't rely on one visual cue in every vehicle, because seat height, mirror settings, and vehicle length change what the reference looks like.
Before reversing, check the area around the vehicle. Look in the mirrors, check the relevant blind spots, and make sure no pedestrian or cyclist has entered the path. Keep your foot poised to control the vehicle at a very slow speed.
The handbook's sequence is clear: stop with the rear bumper aligned, then reverse while turning fully toward the curb. Your setup should place the rear of your vehicle where that first turn can guide it into the opening instead of toward the front vehicle.
Use this rehearsal list in an empty lot:
- Find the space: Confirm that it offers practical room.
- Signal: Communicate your intention before pulling alongside.
- Create clearance: Maintain about 1 metre from the vehicle ahead.
- Align bumpers: Stop with your rear bumper level with the front vehicle's rear bumper.
- Check around: Scan mirrors and blind spots before selecting reverse.
Don't begin reversing until these conditions are in place. A quiet, well-positioned start removes much of the pressure from the steering phase.
Steering the Car In With Confidence
The manoeuvre follows a gentle S-shaped path. The car does not move sideways. Its rear follows the steering direction while the front swings the other way, so slow speed and careful observation matter as much as turning the wheel.
Begin with the curb-side turn
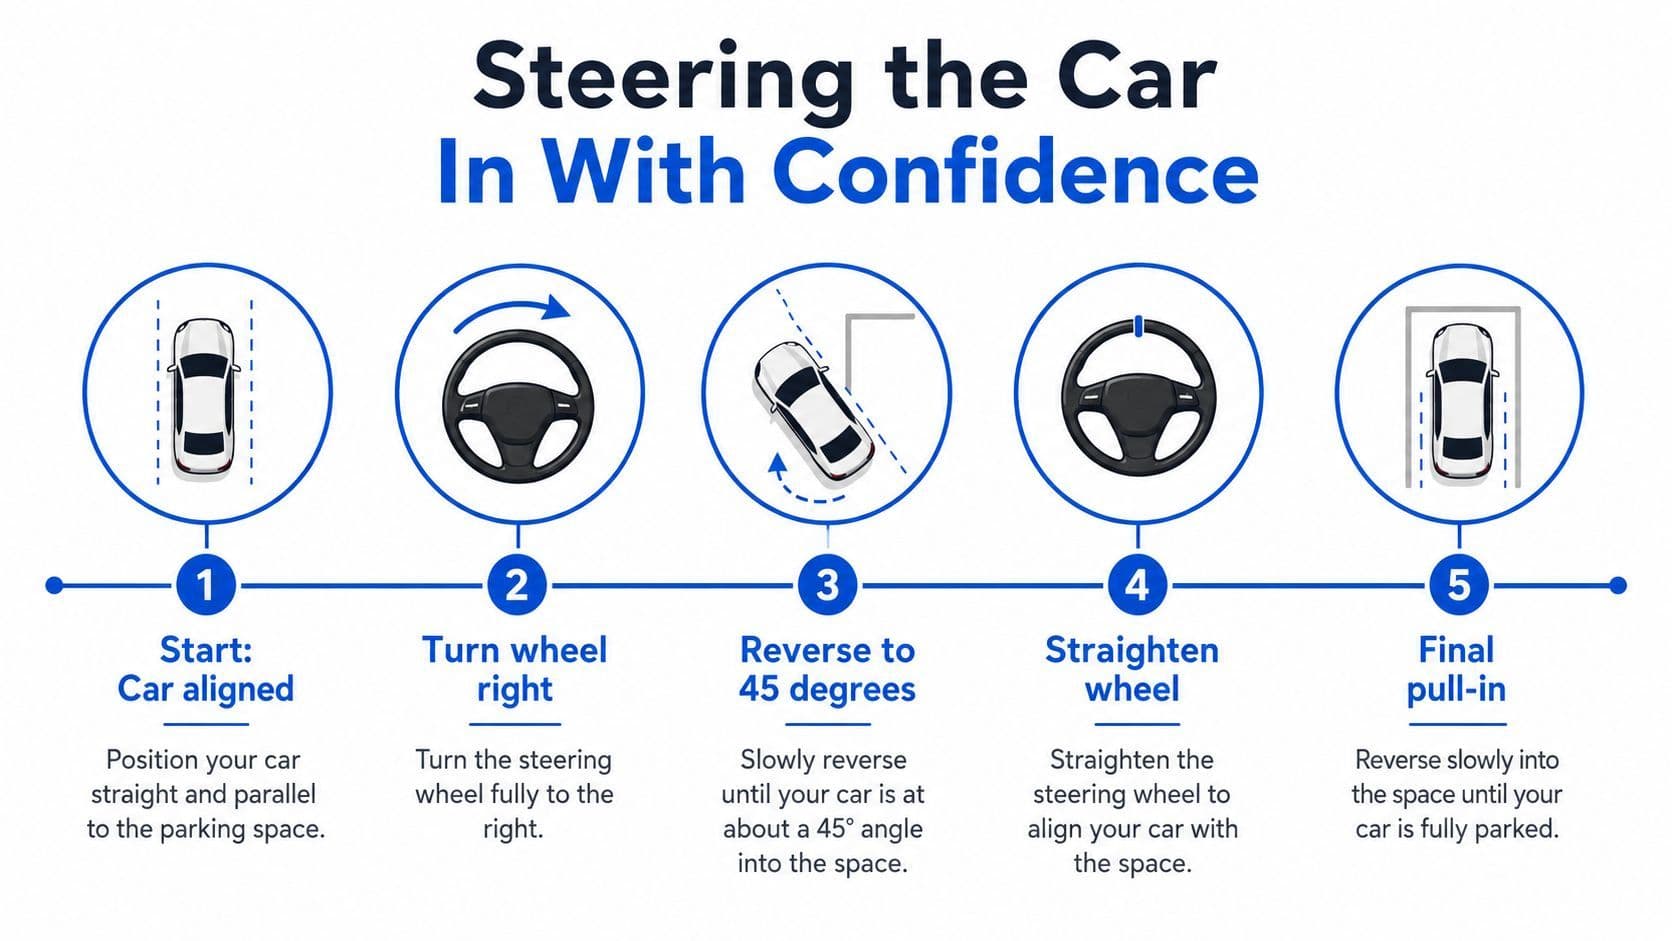
Select reverse only after checking around the vehicle. Turn the wheel fully toward the curb, usually to the right when parking on the right side of a two-way road. Release the brake enough to let the car creep backward.
Keep the movement slow and controlled. The rear is entering the space while the front moves away from the curb. Continue checking the right mirror and right blind spot, while also watching the vehicle ahead and the area behind you.
The prescribed sequence starts with reversing while turning fully toward the curb, then straightening when the outside rear corner of the front vehicle becomes visible. That reference point helps you release the first turn before the rear moves too close to the curb.
Straighten, then guide the front into line
As the vehicle reaches roughly a 45-degree angle, begin straightening the wheel. Do not wait until the car feels fully inside the space. This angle marks the change from bringing the rear inward to guiding the front end into position.
Once the vehicle is straightening, turn the wheel fully toward the road, usually to the left, while continuing to reverse slowly. The front moves away from the curb, allowing the full vehicle to settle parallel with it.
The G2 parallel-parking guide from Gtest Canada follows the same broad sequence: align, reverse with the wheel turned right, straighten near the transition angle, then turn left to finish parallel. It also reinforces checking the mirrors and blind spots throughout the manoeuvre.
If the rear moves too close to the curb, avoid a rushed correction. Stop safely, shift as appropriate, check around the vehicle again, and make a small forward adjustment if needed. A planned correction gives you more control than continuing to roll backward while uncertain.
Hand position can make each steering change easier to control. Practise the steering-wheel grip guide with the parking sequence, keeping both hands available for measured inputs. Your hands should support observation, not compete with it.
Finish by checking the vehicle's position beside the curb and the surrounding vehicles. The goal is a car that is parallel to the curb, not angled across the space, with enough clearance to avoid contact. Parallel parking was removed from the G-class road test in January 2022, but it remains part of the G2 exit test, so candidates should know which exam they are taking while still practising the full skill for everyday driving.
Mirrors, Shoulder Checks, and Signals Done Right
Observation drives a parallel park. Steering is the tool you apply after confirming that the path is clear, and the examiner needs to see those checks clearly rather than infer them from a smooth vehicle movement.
Before pulling alongside the vehicle in front of the space, check the rear-view mirror and the driver's side mirror. Confirm that traffic behind you understands that you are slowing and that no cyclist or vehicle is hidden beside you. Signal before positioning beside the space, then continue scanning instead of fixing your eyes on one mirror.
As you reverse, the right-side mirror helps you judge the gap from the curb. It cannot show every area beside and behind the car, so turn your head for a right-side shoulder check before reversing. Check again after a pause and whenever the vehicle's direction or steering changes. A stopped car can still have changing surroundings.
The mirror, shoulder-check, and signal guide helps you practise each action separately, rather than blending them into one hurried glance.
Why each error happens
- Mirror-only observation: You see the curb but miss a person or cyclist outside the mirror's view.
- Late shoulder check: The car begins reversing before you confirm that the path is clear.
- No check after a pause: The original scan may no longer describe the current surroundings.
- Unclear signalling: Other road users and the examiner cannot tell whether you are preparing to park or just stopping.
If you pause, stop completely, keep the vehicle secured, and reassess before continuing. Do not let the steering wheel turn while your attention is elsewhere. Complete the observation first, then move.
Signals show your intention, but they do not make the movement safe on their own. Pair the signal with mirror checks, shoulder checks, and a slow speed. Keep your hands ready to steer while your eyes move between the intended path, mirrors, and blind spots.
Observation is part of the manoeuvre, not an accessory to it.
At first, say the sequence aloud: signal, mirrors, shoulder check, reverse, observe again. With practice, those words become a steady rhythm. Parallel parking was removed from the G-class road test in January 2022, but it remains on the G2 exit test, so practise the full skill and confirm which exam you are taking.
Mistakes That Cost Easy Marks
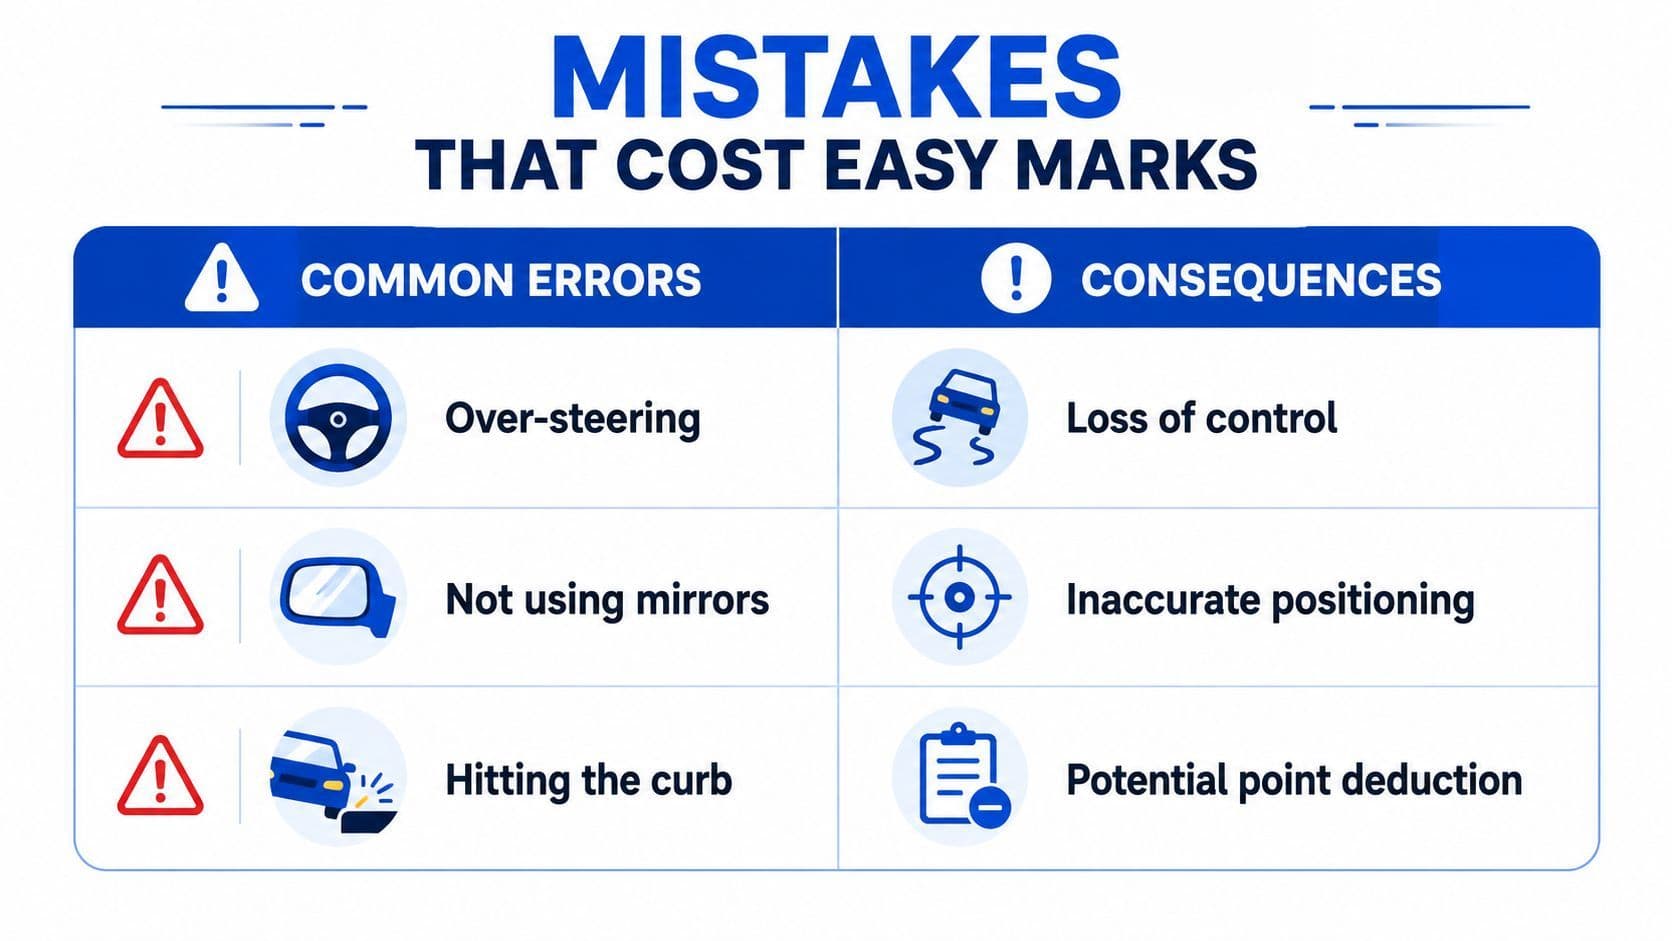
Oversteering often begins with a reasonable intention: turning fully toward the curb to create space. The problem comes from holding that steering too long. The rear of the vehicle travels too deep into the space, leaving less room for the second turn and making a rushed correction more likely.
The change near the 45-degree angle creates another common error. Straighten too late, and the vehicle keeps cutting inward. Straighten too early, and it may remain too far from the curb. Use the vehicle's position as your guide, not a memorised number of wheel rotations. The Ontario-focused G2 parking guidance also identifies this transition as a recurring pitfall.
Read the error early
A light curb touch, a wide gap from the curb, or an angled finish shows that the vehicle's path needs attention. Stop rather than freeze or make several quick steering changes. Secure the vehicle, check around it, and make one deliberate correction if the situation allows.
Rolling onto the sidewalk is more serious because the vehicle has left the intended road position. Contact with another vehicle is unacceptable during the test. If an error is developing, controlled stopping is safer than trying to rescue the park while moving.
Practise the cause of each mistake with a passenger, cones, or clearly visible markers. Keep the practice area safe and leave enough room for correction.
- Oversteering drill: Begin at the starting alignment and reverse slowly. Focus on recognising when the outside rear corner of the front vehicle becomes visible, then reduce the turn.
- Transition drill: Practise changing from full curb-side steering to straight wheels as the vehicle reaches the appropriate angle.
- Observation drill: Have a passenger call out safe interruptions. Stop, check, and restart without rushing.
- Final-position drill: Finish the manoeuvre, secure the vehicle, and assess whether it is parallel and reasonably close to the curb.
Short, focused practice teaches more than repeated attempts without review. Corrections are normal. The goal is to notice the vehicle's position early and respond safely. Parallel parking was removed from the G-class road test in January 2022, but it remains on the G2 exit test, so confirm which exam you are taking while continuing to build this foundational driving skill.
Practice Drills That Build Real Muscle Memory
Start in an empty lot with cones or other safe markers. Arrange a front boundary, a rear boundary, and a curb line, then complete three attempts with a different focus for each attempt.
The first attempt is for setup. Concentrate on the space, signal, side clearance, and rear-bumper alignment. The second is for steering timing, especially the point where you straighten near the 45-degree angle. The third is for the complete routine, including mirrors, shoulder checks, signalling, slow reverse movement, and the final position.
A willing passenger can hold a clipboard and record one observation after each attempt. Ask them to note whether you began aligned, checked before reversing, changed steering smoothly, and finished parallel. Avoid asking them to coach every wheel movement while you're moving, because too many verbal instructions can disrupt your observation.
Practise the pivot, not just the whole park
At a safe curbside location, rehearse the first turn and stop before the vehicle becomes sharply angled. Reset, then practise the transition and second turn. Breaking the manoeuvre into parts helps you understand what the vehicle is doing instead of memorising a frantic series of wheel rotations.
Keep a simple log with the date, the skill you practised, and the correction you made. You don't need elaborate statistics. A note such as “started too close,” “held the first turn too long,” or “forgot the right shoulder check” gives your next session a clear purpose.
The driving practice guide can support a broader practice routine that includes parking and observation habits. On test morning, mentally rehearse the sequence without moving your hands aggressively: signal, align, check, reverse slowly, turn toward the curb, straighten near the transition, turn toward the road, and finish parallel.
You may need repeated attempts before the movement feels natural. That's normal. Consistent, deliberate repetitions build confidence more reliably than one stressful session immediately before the test.
Pre-Test Checklist for Test Day
The night before your G2 exam, review the sequence rather than trying to learn a new technique. On the morning of the test, adjust your seat and mirrors before moving, confirm that you can see the relevant reference points, and settle your hands comfortably on the wheel.
Remember that Ontario's official handbook describes a final curb distance of about 30 cm in the independent G2-testing guidance commonly used by Ontario driver-training sources, while the handbook itself focuses on ending parallel to the curb without contact. Use that distance as a practical target, not as a reason to make a sharp last-second correction.
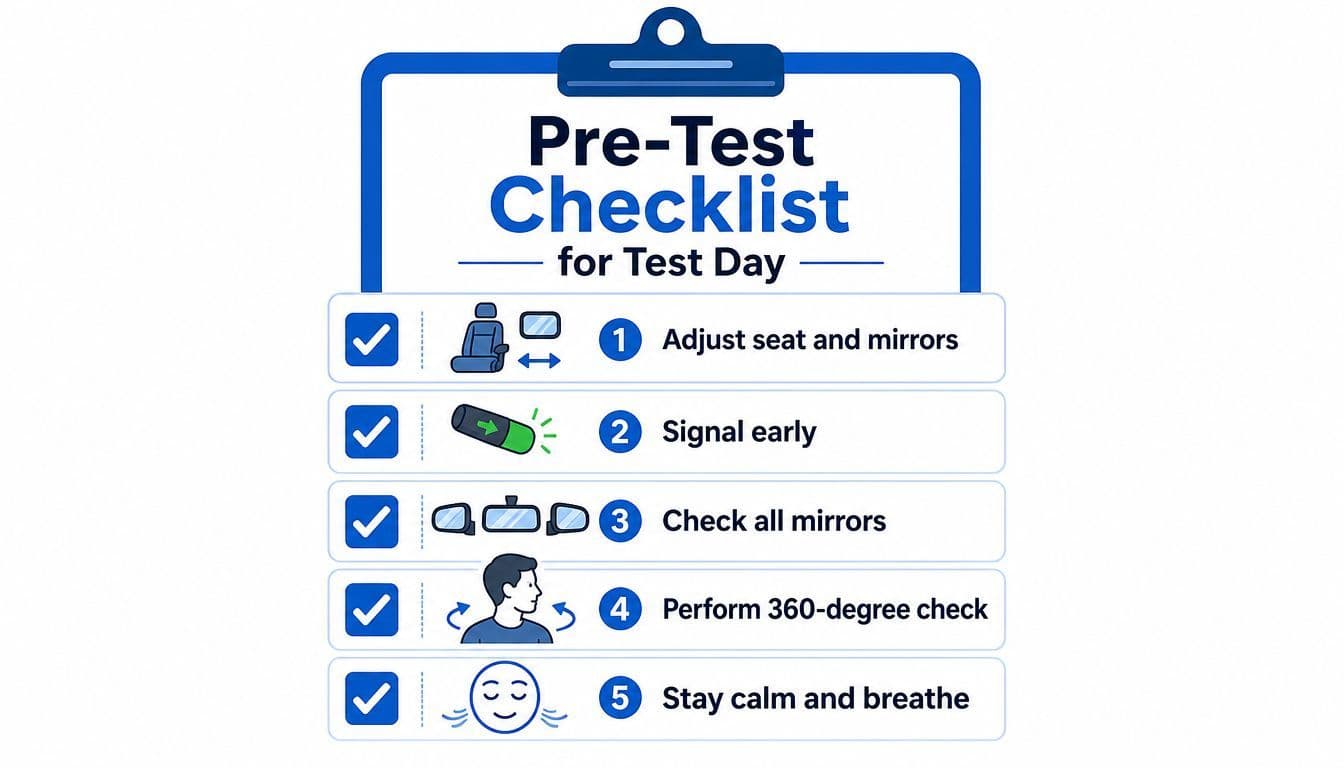
- Adjust first: Set the seat and mirrors before the vehicle moves.
- Signal early: Communicate before approaching the space.
- Check fully: Use mirrors and shoulder checks before and during reversing.
- Steer in stages: Turn toward the curb, straighten, then turn toward the road.
- Finish calmly: Confirm that the car is parallel and clear.
Parallel parking remains relevant to the G2 exit test, while it was removed from the G-class test in January 2022. Walk up to the curb with a routine, not a guess. You've prepared the sequence, and you can perform it one controlled decision at a time.
Use G1ready.ca to practise Ontario G1 rules with free, registration-free quizzes, mixed tests, explanations, and an exam simulator while you build the knowledge that supports safe driving. Review the parking sequence with your instructor, rehearse the observation checks, and return to the site whenever you want structured preparation before test day.


