You're about to head out on a bike in Toronto, review road rules for your G1 test, or remind your teen to clip on a helmet before riding to school. That moment matters more than commonly perceived. In Ontario, bicycle safety rules aren't just good habits. They're part of the legal framework that governs how cyclists, drivers, and pedestrians share the road.
Sharing the Road Safely: An Ontario Guide for 2026. Whether you're a cyclist navigating city streets, a driver sharing the lane, or a parent teaching a child, understanding bicycle safety is imperative in Ontario. These rules aren't just suggestions; they are laws designed to prevent accidents and save lives. This guide breaks down the 10 most critical bicycle safety rules, providing legal context from the Ontario Highway Traffic Act, real-world scenarios, and practical tips. Many of these rules are also key knowledge areas for the G1 test, and mastering them is essential for new drivers. Let's dive into the specifics.
1. Wear a Properly Fitted Bicycle Helmet
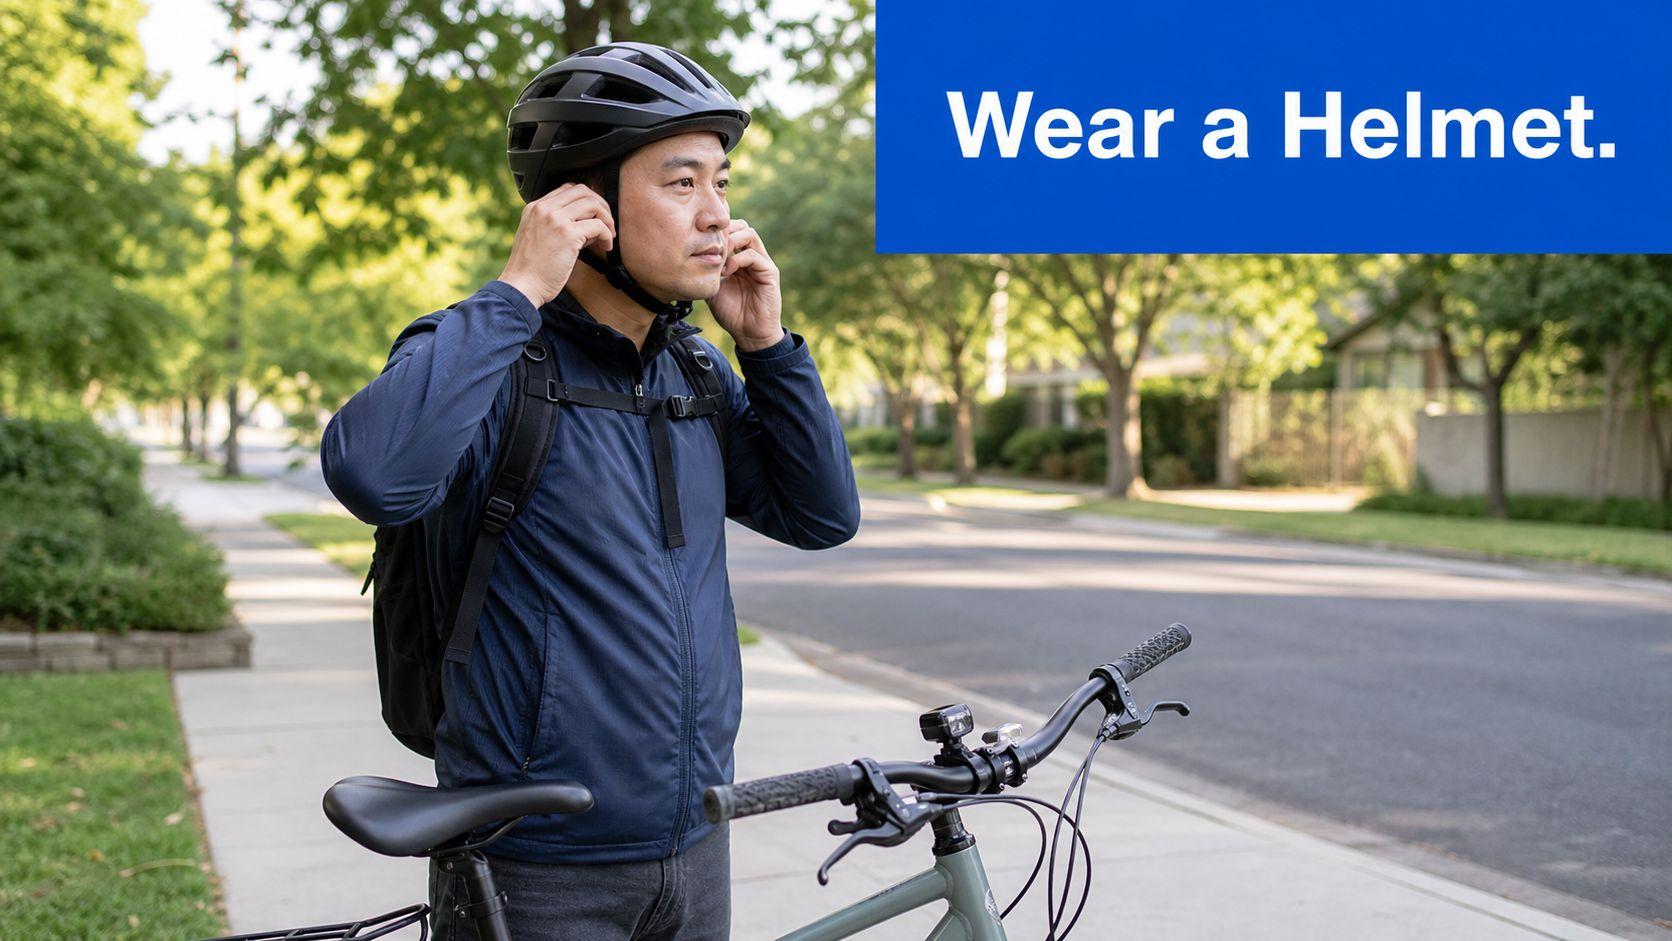
A helmet only helps if it's on your head and fitted properly. In Ontario, cyclists under 18 must wear an approved bicycle helmet, and a parent or guardian of a child age 16 or under can face a $75 fine if they fail to make sure that child wears one, according to Ontario bike law guidance from Northern Ontario Travel.
That legal rule lines up with the safety reality. A Statistics Canada summary of Ontario cycling fatality research reported that a majority of people killed in Ontario cycling collisions in a seven-year study were not wearing helmets, and the head was the most severely injured body region.
Fit matters more than looks
A good helmet sits level, not tipped back. The front should protect your forehead, and the chin strap should be snug enough that the helmet doesn't shift when you shake your head.
In practical terms, think about a parent in Mississauga sending a child to school by bike, or a Bike Share Toronto user deciding whether to borrow a helmet option before a short downtown ride. A short trip doesn't make head impact less serious.
- Buy from a reputable retailer: Staff at a bike shop can help you find an approved helmet and adjust it properly.
- Replace damaged helmets: If the shell is cracked or the helmet took a hard hit, replace it.
- Recheck children's fit often: Kids grow fast, and a helmet that fit in spring might not fit by fall.
Practical rule: A loose helmet is almost the same as no helmet when the crash happens.
2. Maintain Visibility with Lights and Reflectors
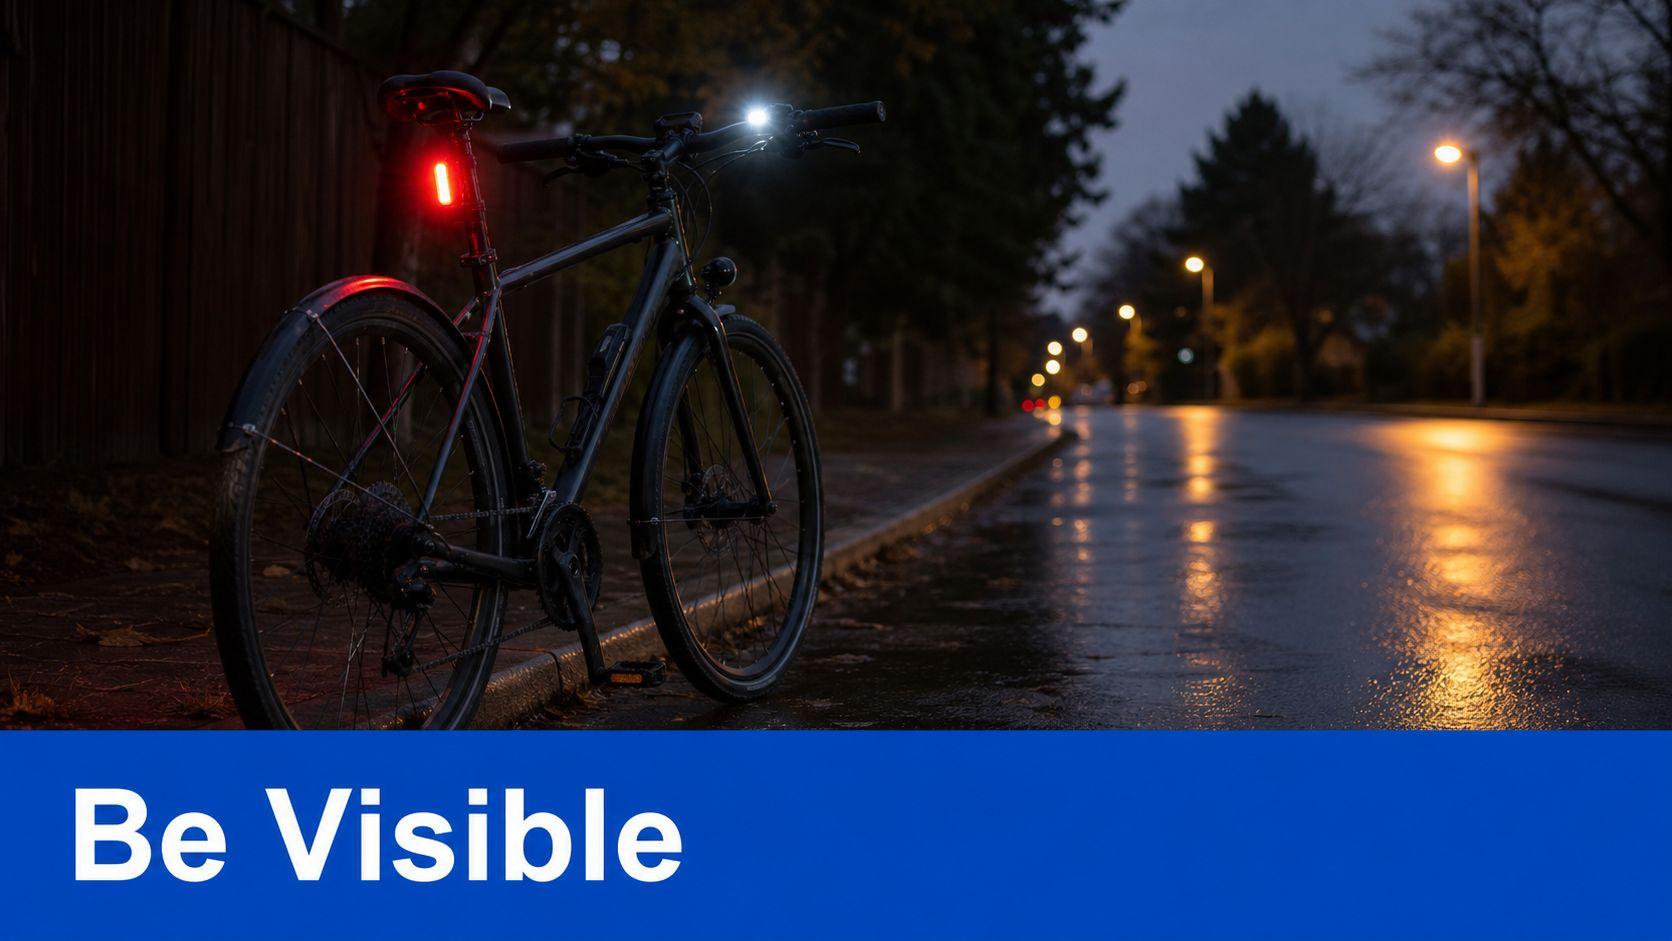
A rider leaves an office in downtown Toronto at 5:15 p.m. in November. The street is wet, the sky is dim, and drivers are dealing with glare from headlights, streetlights, and rain on the windshield. In that setting, being visible is not a nice extra. It is part of riding legally and safely.
Ontario law sets specific equipment rules for bicycles used at night. Under the Highway Traffic Act requirements summarized earlier in this article, a bike used from one-half hour before sunset to one-half hour after sunrise needs the right lighting and reflective equipment. For G1 test preparation, this matters because new drivers in Ontario are expected to know what a legal, visible cyclist should look like on the road.
What Ontario expects at night and in low light
Lights and reflectors do two different jobs. A light helps other road users notice you. A reflector helps return light back to the driver who is already shining headlights your way. You need both, for the same reason a classroom needs both a teacher's voice and a whiteboard. Each one supports the other.
If you ride after dark in Toronto, Hamilton, Ottawa, or a smaller Ontario community with limited street lighting, set up your bike before you leave. Do not wait until the road already feels hard to read.
Parachute's cycling guidance explains a point many riders miss. Reflective material works best when headlights hit it, while fluorescent clothing stands out better in low-light periods such as dawn, dusk, and overcast conditions. That is why a bright jacket can help on a cloudy early commute, even before full darkness.
Use this quick check before riding:
- Confirm your front and rear visibility gear works: Night riding equipment should be present, clean, and easy to see.
- Charge or replace batteries: A dead light is the same as no light once you are on the road.
- Aim the front light at a useful angle: Too low shortens how far ahead you can be noticed. Too high can distract others.
- Wipe off grime and road salt: Reflectors and lenses lose effectiveness when they are dirty.
- Match your clothing to the conditions: Fluorescent helps in murky daylight. Reflective helps when headlights strike it.
A common mistake is treating visibility as a single item you buy once. It works more like a system. Your bike equipment, your clothing, the weather, and the time of day all affect whether a driver can identify you early enough to react safely.
On a rainy evening ride home, the safest approach is simple. Use your bike's required visibility equipment, add clothing that stands out in the current light, and check everything before the wheels start rolling.
3. Use Hand Signals for All Turning and Stopping
Cyclists don't have brake lights or turn indicators that drivers can rely on. Your arms do that job. Clear hand signals make your next move visible before you change position.
A common Toronto scenario is a cyclist leaving the curb lane to turn left while a driver approaches from behind. If the cyclist signals early and holds a predictable line, the driver gets time to react. If the cyclist drifts without warning, both people have to guess.
Signals drivers can recognize instantly
The standard signals are simple. Extend your left arm straight out for a left turn. For a right turn, many riders extend the right arm straight out. To signal a stop, extend the left arm downward.
These habits matter for new drivers too. G1 study materials emphasize watching for cyclist behaviour because drivers are expected to understand what a cyclist's signals mean and respond safely.
Signal before you move, not while you're already turning.
A few good habits make signalling safer:
- Signal early: Give drivers and other cyclists time to process your movement.
- Check before moving: A signal doesn't create space by itself. You still need to look.
- Keep control first: If the road is rough or wet, stabilize the bike before taking a hand off the bars.
If you're riding with friends on a waterfront trail or in city traffic, hand signals also help other cyclists behind you. They don't just communicate with cars.
4. Follow Traffic Signs and Signals
A bicycle isn't treated like a toy on Ontario roads. It's treated like a vehicle. That changes everything about stop signs, red lights, lane use, and yielding.
The Ontario injury law overview discussing the Highway Traffic Act explains that bicycles are legally defined as vehicles on the road, which means cyclists have the same rights and responsibilities as motor vehicles and must obey traffic signals, stop at red lights, and respect crosswalks.
A bicycle is a vehicle under Ontario law
This rule shows up constantly in city riding. If you approach a red light on Bloor Street in Toronto, you stop. If you reach a stop sign in a residential neighbourhood in London, you stop. If pedestrians are in the crosswalk, you yield.
For G1 preparation, this is one of the easiest places to make mistakes if you think cyclists follow a separate rulebook. They don't. Reviewing Ontario road signs and their meanings helps because many test questions depend on understanding that cyclists and drivers both respond to the same basic traffic controls.
- Treat red as a full stop: Rolling through creates confusion for everyone around you.
- Watch bike-specific signals where installed: Some intersections have separate cycling indicators.
- Stay out of the crosswalk unless walking the bike: Riding through pedestrian space creates conflict fast.
Toronto also enforces some cycling offences directly. The city's cycling and the law page notes fines of $85 for sidewalk cycling and $260 for red-light violations. For learners, that's a reminder that these aren't theoretical rules.
5. Ride on the Right Side of the Road, Facing Traffic Direction
Wrong-way riding feels safer to some new cyclists because they think they can see cars coming. On real streets, it does the opposite. It makes your movements less predictable and increases conflict at driveways, intersections, and turns.
Ontario law treats bicycles as road vehicles, which means cyclists travel with traffic, not against it. That same legal approach is central to G1 study because road users are expected to move in a predictable flow.
Predictable road position prevents conflict
If you're riding east on a Toronto side street, stay on the right side and move with other traffic. Don't switch to the left side because it seems quieter. A driver turning out of a driveway usually checks for road users coming from the expected direction first.
Road position also matters. Riding too close to parked cars exposes you to dooring risk. Riding so close to the curb that you can't avoid debris leaves you no room to manoeuvre.
For newer drivers and riders, Ontario G1 road rules explained in plain language can help connect bicycle movement to the same lane discipline expected of cars.
- Leave space from parked cars: A suddenly opened door can block your path immediately.
- Hold a steady line: Drifting in and out makes it harder for drivers to pass safely.
- Use bike lanes when they're usable: If a lane is blocked or unsafe, merge carefully and ride predictably in the general lane.
One subtle point often missed in general bicycle safety rules is passing another cyclist. Ontario clearly sets a one-metre rule for drivers passing cyclists, but official guidance doesn't clearly spell out an exact lateral passing distance for cyclist-to-cyclist passing. In dense urban riding, the safest approach is to pass with clear room and only when you can do it without forcing the other rider toward the curb or into traffic.
6. Maintain Control Through Proper Braking Technique
Many riders don't think about braking until they need to stop fast. That's late. Braking is a skill, and skill fades if you never practise it.
A simple example: you're riding downhill toward a pedestrian crossing near a school zone. If you grab the brakes suddenly, the bike can skid or wobble. If you apply them smoothly and early, the stop stays controlled.
Practise braking before you need it
Use an empty parking lot and feel how your bike responds. Start at a moderate speed. Apply both brakes progressively. Notice how the bike shifts forward as it slows.
Different bikes behave differently. A commuter bike with upright bars won't feel the same as a road bike or an e-bike. Wet pavement changes stopping feel too, so rain riding demands more caution and earlier braking.
This short video gives a useful visual refresher on brake control:
- Test brakes before rolling out: Squeeze both levers and make sure they engage firmly.
- Brake in a straight line when possible: Turning hard while braking increases the chance of sliding.
- Slow before the corner: Good riders reduce speed before the turn, not halfway through it.
Smooth braking gives you more steering control than panic braking.
7. Maintain Bicycle Mechanical Fitness
You roll out for a short ride to the GO station in Toronto. At the first intersection, the bike feels sluggish, one brake lever pulls too close to the handlebar, and the chain clicks under pressure. None of those problems sounds dramatic on its own. Together, they turn a legal road user into a rider with less control than expected.
Mechanical fitness is the part of bicycle safety that works in the background. If your bike is in poor condition, good judgment gets harder to carry out. You may want to hold a straight line, stop smoothly, or clear an intersection predictably, but the bike has to cooperate.
For Ontarians, this is also a Highway Traffic Act issue, not just a maintenance habit. As noted earlier, Ontario sets equipment requirements for bicycles, and police can ticket riders for missing or defective required equipment. That matters for everyday commuting, and it also fits the G1 test mindset. A vehicle that is not roadworthy creates risk before the trip even begins.
Use a simple pre-ride check
A short check takes less time than dealing with a mechanical problem halfway through your ride.
Start with the parts that affect whether the bike feels steady and predictable:
- Tires: Press them and look for obvious softness, cracks, or embedded debris. Low pressure makes steering feel vague and increases the chance of flats.
- Brakes: Squeeze both levers. They should feel firm, not spongy or loose, and the bike should not roll easily when the brakes are engaged.
- Wheels: Spin each wheel and watch for rubbing or side-to-side wobble.
- Chain and gears: A dry, dirty, or skipping chain can make starts and climbs harder than they should be.
- Bell or horn: Make sure it works. In Ontario, a bicycle is expected to have one.
A car with worn tires and weak brakes is harder to control. A bicycle works the same way, just on a lighter frame and with less margin for error.
Focus on problems that change control
This rule is not about making your bike look polished. It is about removing small faults before they become safety problems.
A loose handlebar affects steering. Brake pads worn too far down reduce stopping confidence. A badly adjusted saddle can shift your weight awkwardly and make starts less stable at lights or stop signs. In city riding, where lane position and timing matter, those details shape how predictable you are to drivers around you.
Toronto riders see this often after winter. Salt, grit, and potholes wear parts faster than many people expect. If your commute includes streetcar tracks, rough pavement, or frequent curb cuts, check your bike more often, not less.
Know when a home check is enough
Some issues are easy to spot. Others hide until they get worse.
If the bike starts making new noises, pulls to one side, or hesitates during shifting, book a service appointment before it turns into a roadside repair. Seasonal tune-ups help catch cable wear, loose bolts, and bearing problems that new riders may not notice during a quick inspection.
That approach matches the habit Ontario drivers are taught early. Check the vehicle first. Then trust it on the road.
8. Stay Alert and Avoid Distractions
You are riding along a busy Toronto street. A driver slows near a driveway, a pedestrian steps toward the curb, and a parked car's brake lights flick on. None of those hazards is a problem if you spot them early. All of them become harder to handle if your attention is split.
Alert riding works like defensive driving. You are not just steering your bike. You are reading clues, predicting what other road users might do next, and keeping enough time to respond calmly.
Under Ontario's Highway Traffic Act, cyclists are road users. For G1 test prep, that matters. The same habit of scanning for conflicts at driveways, intersections, and lane changes helps drivers and cyclists avoid the same collisions. If you are reviewing intersection decisions, this Ontario right-of-way guide for G1 practice helps connect those rules to what cyclists face on the road.
What distraction looks like on a bike
Distraction is not limited to texting. It includes any action that pulls your eyes, ears, or mind away from traffic long enough to miss a change around you.
Common examples include:
- checking a phone while moving
- adjusting navigation after the ride has started
- listening to audio so loudly that traffic sounds disappear
- staring down at your speed or watch for too long
- daydreaming after a familiar stretch of road feels routine
A bicycle gives you less protection and less reaction time than a car. Small lapses matter more.
Use a simple scan pattern
New riders often ask, “Where should I look?” Use a repeating pattern.
Look ahead for road surface problems, turning vehicles, and signal changes. Check side areas for pedestrians, driveways, and cars edging out. Glance at parked vehicles for occupied seats, running engines, or front wheels starting to turn. Then return your focus forward.
This habit is especially useful in cities like Toronto, where bike lanes can be blocked by delivery vehicles and where parked cars create dooring risk. Your attention should move, but your bike should stay steady.
Practical ways to reduce distraction
Set yourself up before the ride starts.
- Set navigation in advance: Stop first if you need to change directions.
- Keep volume low or skip audio entirely: Hearing is an early warning tool.
- Put your phone away: A pocket or bag is safer than your hand.
- Watch for “almost-moving” vehicles: Wheels, mirrors, and body position often reveal intent before the car moves.
One more point causes confusion. A bell helps you warn others, but it does not replace attention. Use it to communicate, then keep scanning and controlling your lane position.
Attention gives you time. Time gives you options.
That is the significant safety advantage.
9. Understand Right-of-Way Rules at Intersections
You roll toward a Toronto intersection on a green light. A driver across from you starts a left turn. You assume they will wait. They assume you will slow down. That split-second misunderstanding is one of the most common ways a routine ride becomes dangerous.
At intersections, the safest mindset is simple. Right-of-way is not a reward for being faster or bolder. It is a set of legal rules that tells each road user who must wait, who may go, and when to yield. For Ontario cyclists, those rules connect directly to the Highway Traffic Act, and they also show up in G1 study material because drivers are expected to understand them too.
Start with the basic rule
A bicycle on the road is part of traffic. In practical terms, that means you generally follow the same right-of-way rules as a driver at stop signs, traffic lights, and turns.
If you are studying, this guide to Ontario right-of-way rules for G1 practice shows the same intersection decisions from the driver's side. That matters because safer cycling often starts with predicting what a driver has been taught to do, and where drivers still make mistakes.
Four intersection situations that confuse riders
1. Four-way stops
Treat a four-way stop like a turn-taking system.
- The first road user to stop is usually the first to go.
- If two road users stop at the same time, the one on the right usually goes first.
- If you are not sure who arrived first, wait a moment and make your intentions clear.
A common mistake is rolling through because the bike can clear the intersection quickly. Speed does not create priority. A complete stop and a clear check for other road users do.
2. Green lights
A green light gives permission to proceed if the intersection is clear. It does not erase the need to look.
Watch for:
- drivers turning left across your path
- pedestrians still crossing
- vehicles entering late on a yellow or red
- large vehicles that may swing wide before turning
Many riders get caught when they have the green, but another road user fails to yield.
3. Left turns
If you are turning left from the roadway, yield to oncoming traffic unless you have clear priority, such as an advance green arrow. New riders sometimes find this stressful, especially on wider Toronto streets. If the turn feels too complex, it is often safer to stop, dismount, and cross in stages as a pedestrian where permitted.
4. Right turns by drivers beside you
Be especially careful when riding straight beside a vehicle that may turn right. The driver may focus on car traffic ahead and miss the bicycle to their right. Give yourself space, avoid lingering in blind spots, and do not assume a stopped vehicle will stay stopped.
Use a simple intersection routine
A good routine works like a checklist before takeoff. It reduces guessing.
As you approach an intersection:
- Read the control early. Is it a stop sign, traffic light, yield sign, or uncontrolled corner?
- Check for conflict points. Look for left-turning cars, right-turning cars, pedestrians, and vehicles creeping forward.
- Decide your position. Hold a predictable line. Do not weave from roadway to crosswalk at the last second.
- Confirm before entering. A signal or your legal priority helps, but a quick final check catches many mistakes.
That last step matters most. Legal right-of-way does not protect you from a driver who never saw you.
Ontario-specific habits that prevent confusion
Ontario riders benefit from thinking like both a cyclist and a G1 test taker. The law sets the order of movement, but road safety depends on whether everyone recognizes the same situation.
Keep these habits in mind:
- Yield when the law requires it, even if you could squeeze through. Saving two seconds is not worth creating doubt.
- Make your path predictable. Drivers can react to a steady line more easily than a sudden change.
- Do not trade road rules for convenience. Switching from traffic lane to sidewalk or crosswalk right at the intersection makes you harder to track.
- Give trucks and buses extra room. Their turning path and blind spots are larger than many riders expect.
One final point causes confusion. Eye contact can help, but it is not proof that a driver will yield. Base your decision on the vehicle's speed, wheel movement, and position, then proceed only when the path is clear.
10. Wear Appropriate Clothing and Avoid Entanglement Hazards
You leave a Toronto office after work hours, get on your bike, and start pedaling in work clothes. At the first block, a loose pant leg brushes the chain, a lace swings near the crank, and your attention shifts from the road to your clothing. That is a small problem that can turn into a fall very quickly.
Clothing is part of bike control. If your outfit can catch, slip, or block movement, it becomes a safety issue, not just a comfort issue.
Dress so nothing can snag
A bicycle has several moving parts close to your feet and lower legs. The chain, chainrings, pedals, and spokes do not need much fabric or lace to create trouble. A good rule is simple. If it dangles, flaps, or drags, secure it before you ride.
Use this quick pre-ride check:
- Tuck or clip loose pant legs: This keeps fabric away from the chain and gears.
- Tie and tuck shoelaces: Long laces can wrap around pedals or the crank.
- Avoid long scarves or loose straps: They can interfere with steering or catch in parts of the bike.
- Wear closed-toe shoes: They give firmer footing on the pedals and better protection than sandals.
This matters for new riders preparing for the G1 test too. Ontario road safety questions often focus on hazards before they become emergencies. Loose clothing is one of those preventable hazards.
Match your clothing to visibility and weather
This section is about entanglement, but visibility still matters here in a different way. Your clothes help other road users detect you sooner, especially in busy city traffic where cyclists can blend into the background.
In daylight, brighter colours make you easier to notice. In low light, reflective details help when headlights hit them. Dawn and dusk can be tricky because conditions change by the minute, so a visible outer layer is a smart habit.
Weather affects control as well. Wet cuffs get heavy. Cold fingers react more slowly. A jacket that restricts shoulder movement can make it harder to check around you comfortably. Dress so you can move freely, grip the bars securely, and keep your focus on the road.
Ontario context riders should know
Under Ontario rules, e-bike riders must wear an approved helmet and meet the province's age requirement, as noted earlier in this guide. That legal point connects to clothing in a practical way. E-bikes often accelerate faster and feel heavier than regular bicycles, so anything that interferes with balance or pedal movement becomes more serious.
For Ontarians, the lesson is straightforward. Follow the law, then remove the small physical risks that the law does not list item by item. Good clothing choices do that.
A simple city routine works well. Before rolling away, check your pant leg, laces, sleeves, and bag straps. It takes less than a minute, and it helps keep your ride smooth, predictable, and under control.
10-Point Bicycle Safety Rules Comparison
Safety Measure 🔄 Implementation Complexity ⚡ Resource Requirements & Speed ⭐ Expected Effectiveness 📊 Expected Outcomes / Impact 💡 Ideal Use Cases & Tips Wear a Properly Fitted Bicycle Helmet Low, buy & fit correctly; some fitting knowledge Low–moderate cost; immediate protection; replace every 3–5 yrs Very high (≈70% head-injury reduction) ⭐⭐⭐⭐ Fewer severe head injuries; legal compliance for minors Use CSA-certified helmet; get professional fit; replace after impact Maintain Visibility with Lights and Reflectors Low, easy installation; periodic checks Low cost; requires batteries/charging; instant visibility gains High at night; moderate daytime with reflectors ⭐⭐⭐ Reduced nighttime collisions; better driver detection Use white front/red rear, flashing modes; keep charged; clean reflectors Use Hand Signals for All Turning and Stopping Low, learn and practice timing No equipment cost; immediate communication; brief loss of one-hand control High when noticed by others ⭐⭐⭐ More predictable movement; fewer misunderstandings Signal ≥30 m before; hold 3s; make eye contact; practice in low traffic Follow Traffic Signs and Signals Low–moderate, knowledge and discipline required No direct cost; may increase travel time High for legal predictability and safety ⭐⭐⭐⭐ Fewer collisions, consistent road behavior, fewer fines Treat lights like motorists; yield to pedestrians; follow lane markings Ride on the Right Side of the Road, Facing Traffic Direction Low, habit and lane positioning No cost; may require slower, assertive positioning High, prevents head-on collisions ⭐⭐⭐⭐ Improved predictability; fewer wrong-way incidents Keep 1–1.5 m from parked cars; use bike lanes; maintain assertive lane position Maintain Control Through Proper Braking Technique Moderate, requires practice and skill Low equipment cost; time investment for drills; high immediate benefit once learned High when mastered ⭐⭐⭐⭐ Fewer skids/flips; safer emergency stops; improved confidence Practice emergency braking; use both brakes progressively; test before rides Maintain Bicycle Mechanical Fitness Moderate, routine checks or professional service Tools/time or paid tune-ups; periodic maintenance High, reduces mechanical failure risk ⭐⭐⭐⭐ Fewer breakdowns; improved handling; lower long‑term costs Do pre-ride checks; monthly chain/brake checks; seasonal tune-up Stay Alert and Avoid Distractions Low, behavioural change; continuous effort No equipment cost; mentally demanding over time Very high when maintained ⭐⭐⭐⭐ Early hazard detection; reduced collision risk No phone/headphones; scan 10–15s ahead; ride defensively Understand Right-of-Way Rules at Intersections Moderate, learning rules + situational judgement No cost; may slow decision-making at intersections High for intersection safety ⭐⭐⭐⭐ Fewer intersection collisions; clearer interactions with drivers Make eye contact; yield appropriately; use protected bike signals when present Wear Appropriate Clothing and Avoid Entanglement Hazards Low, choose fit/visibility; some expense for gear Low–moderate cost for reflective/fit clothing; instant benefit Moderate–high for visibility & entanglement prevention ⭐⭐⭐ Fewer entanglement incidents; improved comfort and control Wear bright/reflective, tuck loose items, use closed-toe shoes, secure laces
From Knowledge to Habit Your Next Steps to Safer Cycling
A Toronto rider leaves home for a short trip to the store. At the first intersection, a driver turns right across the bike lane without checking carefully. Nothing goes wrong because the rider is visible, scanning early, and ready to respond. That is what good safety habits do. They give you a margin for other people's mistakes.
Knowledge matters, but habit is what shows up in traffic. Ontario's Highway Traffic Act sets the legal rules, yet real safety comes from repeating them until they feel automatic. The goal is the same for cyclists, drivers, parents, and G1 students. Make the road more predictable.
For cyclists, a short pre-ride routine works like a seatbelt habit in a car. You do it every time, so you do not have to debate it later. Before rolling out, do a quick check: helmet secure, lights ready if visibility may drop, brakes responsive, and clothing clear of the chain or wheels. On the road, keep one mental rule in front of you. Ride as if a driver or pedestrian may miss something, then leave yourself time and space to react.
Drivers need that same habit from the other side of the windshield. In Ontario, bicycles are road users under the Highway Traffic Act, not obstacles at the edge of the lane. A G1 test question may ask about signs, right-of-way, or lane use, but the key lesson is practical: notice where cyclists position themselves, read hand signals early, and expect a rider to need space near parked cars, intersections, and right turns. A careful pass is not just courteous. It lowers the chance of a predictable conflict.
Parents and guardians help turn rules into routine. A child learning to ride does not need a lecture on every traffic detail at once. Start with the building blocks: look, signal, slow, stop. Then add local examples. On an Ontario street, that might mean showing a child or teen how a painted bike lane differs from a busier shared road, or why a downtown Toronto intersection demands slower decisions than a quiet residential block.
Keep the next step simple. Pick one cue for before the ride and one cue for during the ride. Before the ride, check the bike. During the ride, check the road.
If you are studying for the G1, treat bicycle rules as part of everyday driving knowledge, not a side topic. Ontario test questions can connect cyclists to traffic signs, turning rules, lane position, and intersection right-of-way. Reviewing those rules in real street scenarios helps the material stick better than memorizing isolated facts.
Safer cycling starts at the curb, at the stop line, and in each small decision that follows. Repetition turns legal knowledge into road sense.