
You've prepared for the drive, checked the route, and arrived at the DriveTest centre with time to spare. One driver has their licence and insurance documents in a folder, while another is turned away because a required document is missing or a signal bulb has failed. The difference has nothing to do with steering skill.
Most test-day problems are preventable. They happen before the examiner gets into the vehicle, through missing paperwork, an unsuitable car, late arrival, or an appointment detail the driver didn't confirm. This Ontario G test checklist brings the day into one routine, from eligibility and documents to vehicle checks, practice, and the final quiet minutes before the assessment.
1. Essential Documents to Bring
Start with the document that proves you're eligible for the test. Ontario's graduated licensing pathway moves from the G1 knowledge and vision requirements to a first road test, then to the final Class G road test. You need to bring your current licence and any other documents the testing centre requires for verification. The Ontario government's driver licensing information explains the staged process and distinguishes the practical G assessment from the earlier knowledge test and G2 road test.
Don't rely on a digital image when the original document is available. Keep your licence, proof of insurance, vehicle ownership information, and any required corrective lenses together. If your name or address has changed, resolve the mismatch before test day rather than hoping the check-in desk will accept an explanation.
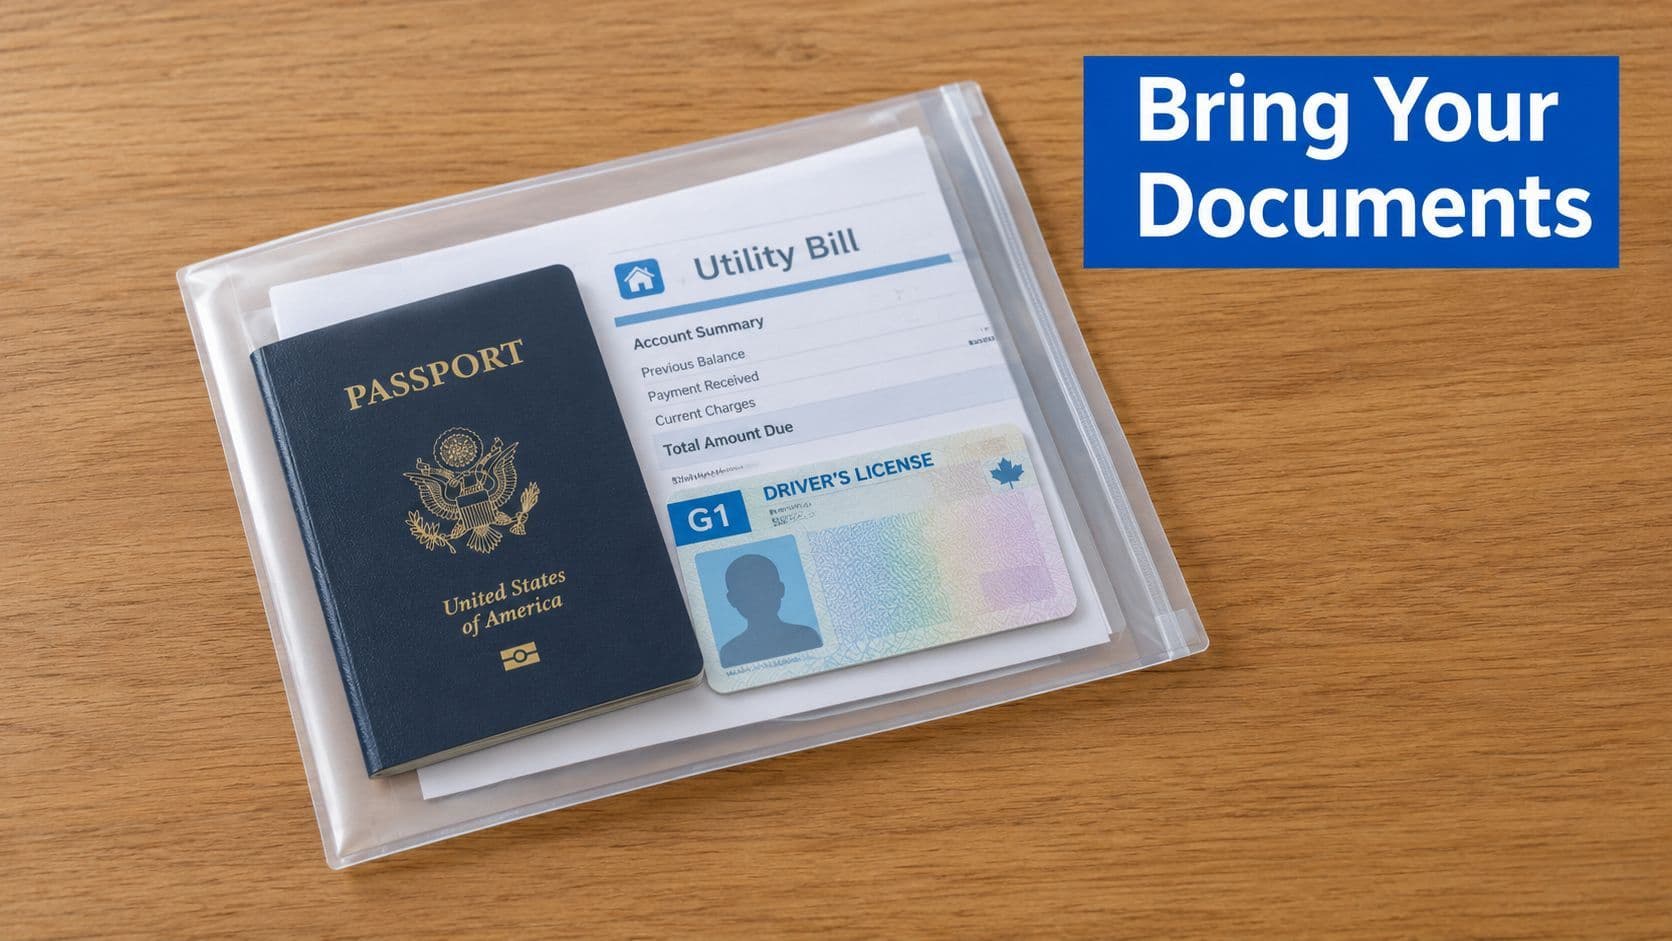
A newcomer may need to confirm which documents establish identity or Ontario residency. A student might place their licence, passport, and a recent utility bill in the same folder. The practical point is simple: check the requirements with the appropriate Ontario service office before travelling if your documents are unusual, expired, or inconsistent.
Practical rule: Put every document in one clearly labelled folder the night before. Searching through a wallet or phone at the counter creates avoidable stress.
Prevent the paperwork delay
Use this short check:
- Licence: Confirm it's current, readable, and the correct licence for your appointment.
- Identification: Carry primary government-issued photo identification if the centre requires additional verification.
- Insurance and ownership: Keep the vehicle documents accessible, not buried in the glove compartment.
- Corrective lenses: Bring the glasses or contact lenses you need to drive.
- Confirmation: Save the appointment details on your phone and keep a backup note of the location.
For additional preparation around identification, review this guide to documents for an Ontario G1 test. Although the G1 and G road assessments are different, the same habit applies: verify what you need before you leave home.
2. Vehicle Requirements and Specifications
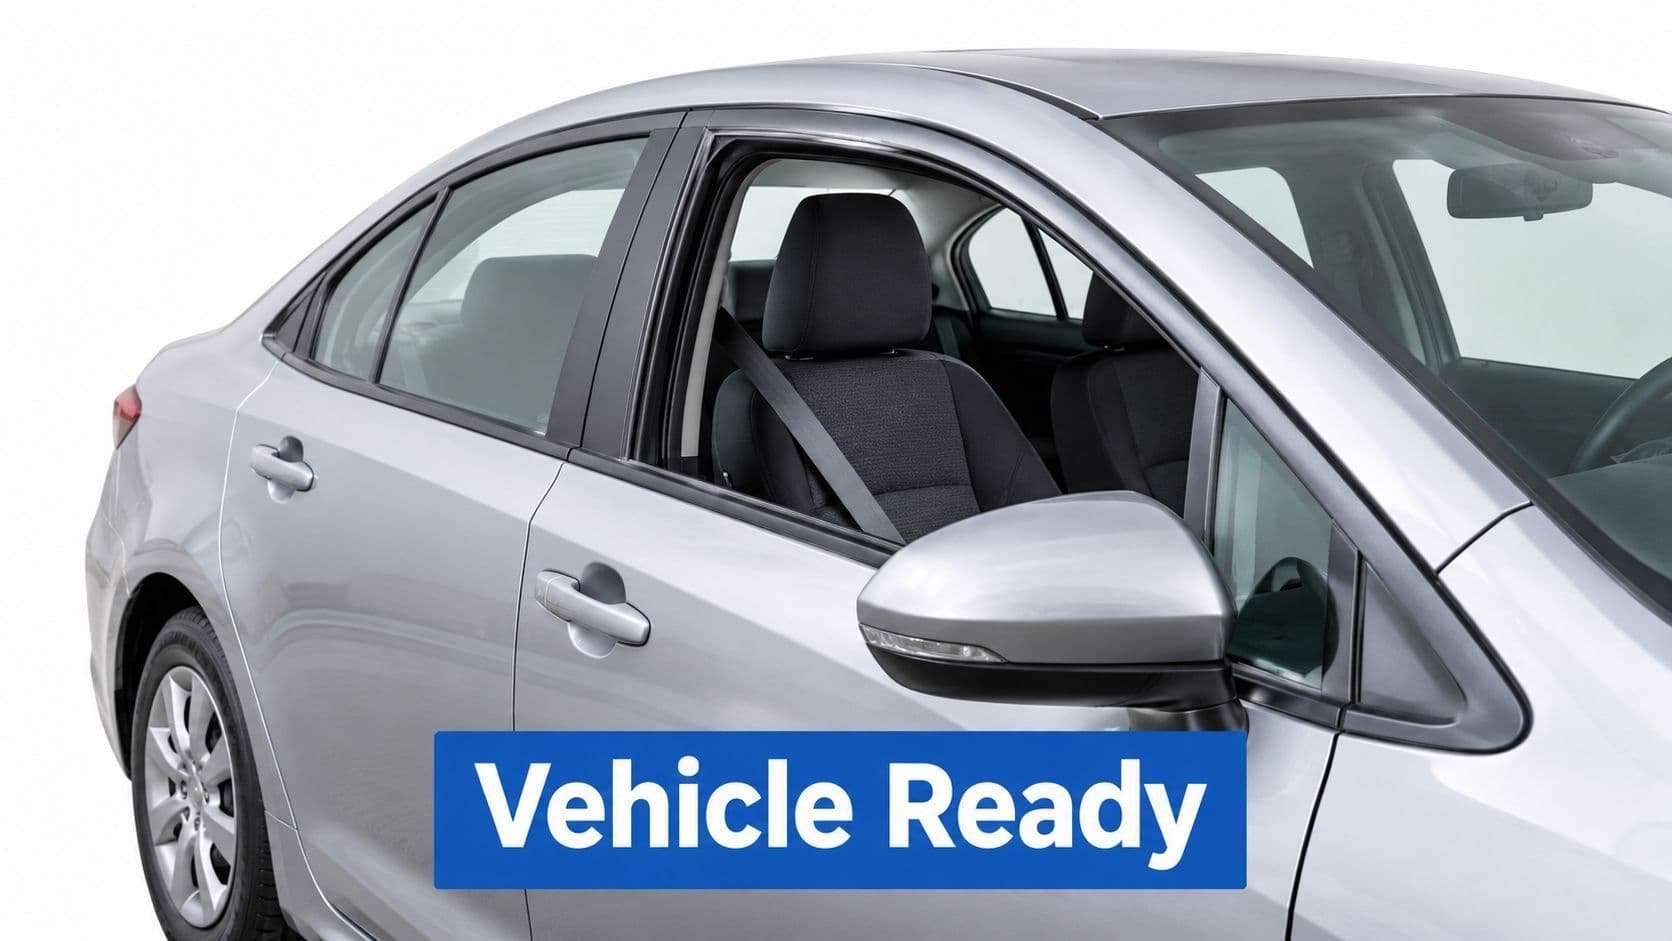
A road test can end in the parking lot if the car is not legal or safe to use. For the Ontario G test, the vehicle needs to be fit, plated, insured, and in proper working condition. The province states that directly in its official Ontario road-test preparation list. Read it before test day, then check your own car against it, item by item.
Use a vehicle you already know. That decision removes a lot of avoidable mistakes. Drivers who switch cars at the last minute often misjudge brake pressure, steering response, mirror setup, or where the hood sits in the lane. Those are small differences, but they show up fast when nerves are already high.
Borrowing a car can work, but it adds checks that people miss. Confirm the registration and insurance are current and belong to that vehicle. Confirm you are allowed to drive it for the test. Then look at the passenger side like an examiner would. The seat must be usable, the belt must work, and the footwell cannot be blocked by bags, tools, or loose items.
Transmission choice also matters. Practise in the same type of vehicle you will bring. If you have been learning in one car and arrive in another, even routine actions can feel off. I see this most often with braking and lane position.
Before you leave home, do a quick walk-around and a seated check.
- Lights and signals: Test headlights, brake lights, hazard lights, and turn signals.
- Visibility: Make sure the windshield, mirrors, wipers, and washer system provide a clear view.
- Vehicle documents: Confirm that the plate and insurance information match the car.
- Passenger seat: Check that the examiner has safe, unobstructed seating.
- Controls: Adjust the seat, mirrors, steering position, and climate controls before the appointment.
Cleanliness helps for practical reasons. You can reach documents faster, the examiner can enter without delay, and nothing rolls under a pedal or distracts you. Appearance counts for little at the roadside. The examiner cares whether the vehicle operates safely from the first instruction.
3. Fees, Payment Methods, and Valid Identification Protocols
A surprising number of G test problems happen before the car even moves. The booking is fine, the driver is ready, then check-in stalls because the fee is unpaid, the wrong payment method is in hand, or the name on the record does not match the licence.
Handle this part like a short admin check, not an afterthought.
Keep your booking confirmation, reference details, test location, and appointment time where you can reach them fast. Save them on your phone and keep a second copy in a way that still works if reception is weak. A screenshot helps at the counter. It does not replace checking the official booking record before you leave.
Ontario's guidance says applicants must arrive with the applicable test-fee payment. That matters because payment problems can delay check-in or end the appointment before the examiner sees the vehicle. DriveTest commonly accepts card payments, but do not rely on memory or old advice. Check your booking confirmation and the current instructions tied to your test centre so you know what that location will take on the day.
Identification only needs one clean check here. Make sure the licence you present is current, readable, and matches the name on the appointment. If the record and the ID do not line up, staff may need to stop and sort it out before anything else happens.
Keep your licence, vehicle documents, payment method, and appointment confirmation together. One folder or one pouch is easier to check than four separate places.
The day before the test, review this short sequence:
- Appointment record: Confirm the centre, date, time, and reference details.
- Payment: Verify whether the fee is already paid or what accepted method you need to bring.
- Identification: Check that your licence is current and the name matches the booking.
- Policy check: Read the current cancellation or rescheduling terms before making changes.
Skip the backup stack of random cash and old cards. Use the current instructions connected to your appointment.
4. Appointment Booking and Strategic Arrival Planning
Your appointment starts affecting the test before you turn the key. Book a time when you are usually alert, not squeezed between work, school, or another commitment. Drivers who rush into the parking lot already feel behind, and that pressure shows up in simple mistakes during check-in and the first few minutes on the road.
If the centre is unfamiliar, do one dry run. Drive there on a normal day, enter the lot, find where road-test vehicles wait, and note the office door for check-in. That small trip removes guesswork that can delay you on test day. It also tells you whether the route to the centre is easy or whether you need extra time for turns, traffic, or construction.
Ontario guidance says applicants should arrive at least 30 minutes before the road-test appointment. Use that time well. Park. Settle yourself. Get the vehicle ready. If you arrive right on time, one wrong turn into the lot, one lineup at the counter, or one last-minute document search can put the whole appointment at risk.
Build your plan in the same order the morning will happen:
- Booking details: Recheck the centre, date, time, and any reference information in your confirmation.
- Route to the centre: Look up traffic patterns, road work, and any spot where delays usually build.
- Arrival point: Confirm where to park and where you need to report before the examiner comes out.
- Reminders: Set one reminder for the day before and another with enough departure time on test day.
- Weather and timing: Leave earlier if rain, poor visibility, or heavy traffic could slow the drive.
- Local practice: Drive near the centre beforehand so the area feels familiar, but do not assume the test will follow the same route.
The Ontario driving test appointment guide is useful for organizing the booking sequence. Use it to check your plan, then confirm the appointment record through the official booking channel.
5. Vehicle Safety and Maintenance Pre-Test Checks
You arrive ready, check in on time, and then the examiner finds a defect that stops the test before it starts. That is why this part of the checklist needs two passes, one early enough to fix something, one close enough to catch a new problem.
The official handbook says the road-test vehicle must be in proper working condition, plated, and insured. For test day, that means more than having a legal car in the lot. The vehicle has to work safely under inspection and during the drive.
Start by repeating the section 2 walk-around, not because the basics changed, but because small failures show up at the worst time. Then add the checks that a quick parking-lot review often misses.
Book a mechanic inspection ahead of time if you have any doubt about the brakes, steering, tires, battery, or fluid levels. This matters even more with a borrowed car. Ask when it was last serviced. Do not assume it is test-ready because it starts and idles.
Here is the part that saves appointments:
- Brake behavior: On a safe road, make a firm, controlled stop. The car should stop straight, without pulling, shuddering, grinding, or a soft pedal.
- Tire condition: Look past inflation. Check for uneven tread wear, sidewall damage, or anything that suggests alignment or suspension trouble.
- Cold start and battery: Pay attention to cranking speed, especially in the morning. Slow or weak starts can turn into a no-start at the centre.
- Leaks and warning lights: Check under the car after it has been parked. If a warning light stays on, deal with it before test day.
- Service follow-up: If something feels off in regular driving, handle it now, not at the appointment.
Do the full inspection several days in advance. Do a shorter repeat check the evening before or the morning of the test.
If any item is questionable, repair it or switch vehicles. Losing the appointment over a warning light, brake pull, or worn tire is avoidable.
6. Essential Driving Maneuvers to Practice and Master
A common test-day failure starts before the examiner says much. The driver pulls out smoothly, then misses a blind-spot check on the first lane change or hesitates too long at highway speed. That is why practice needs to follow the same checklist mindset as the rest of your test prep. Train each manoeuvre with a clear standard, because weak execution can turn a booked appointment into a fail.
The G road test is Ontario's final practical assessment in the staged licensing process. It measures advanced driving skills, including highway driving. Practise for traffic decisions, observation, and control under pressure. Do not rehearse one fixed route and expect that to carry you.
Build your sessions around the skills the examiner sees in motion: merging, lane changes, mirror and blind-spot checks, intersections, speed control, following distance, smooth acceleration and braking, and hazard anticipation. Use both city streets and higher-speed roads. A driver can steer smoothly and still lose marks fast for late observation, poor lane position, or uncertain pacing.
Outside feedback matters here. A qualified instructor will usually catch habits that a friend or family member lets slide, such as signalling too late, drifting within the lane, braking too hard, or waiting too long to enter a safe gap. After each drive, identify one weak point and repeat it until it becomes consistent.
Skip the generic practice loop. Use one drive for one purpose, then score it objectively.
Try this structure:
- Observation run: Call out mirror, signal, shoulder check, then move. Repetition helps under stress.
- Merge run: Enter at a safe speed, fit into traffic cleanly, and avoid timid or abrupt movement.
- Lane-change run: Signal in time, check mirrors, check the blind spot, shift smoothly, then cancel the signal.
- Intersection run: Scan early for pedestrians, cyclists, turning vehicles, signs, and signal changes.
- Speed-and-space run: Hold a steady, appropriate speed and keep enough room to react.
- Recovery practice: If a manoeuvre starts badly, correct it calmly instead of forcing it.
For lower-speed control, this parallel parking practice guide is a useful refresher. Parallel parking is not the main event on the G, but clean vehicle control still matters. The goal is simple. Nothing on test day should feel like the first time.
7. Final Pre-Test Inspection and Day-Of Preparation
The night before should reduce decisions, not create new ones. Put the documents in their folder, confirm the appointment, check the vehicle, choose comfortable clothing, and set the route in your navigation system. Avoid a late session that leaves you tired and overstimulated.
A final inspection should cover the headlights, taillights, brake lights, signals, wipers, horn, mirrors, tires, and seatbelts. Clean the windshield and remove loose items from the passenger area. The official Ontario preparation information also advises bringing corrective lenses when needed and arriving at least 30 minutes early, so include both in your final routine.
A balanced meal and a calm departure help you focus on observation and traffic decisions. You don't need a complicated ritual. You need enough time to drive to the centre without rushing, complete check-in, and sit calmly before the examiner arrives.
Use a simple morning sequence
- Pack: Take the document folder, licence, insurance information, confirmation, and corrective lenses.
- Inspect: Walk around the vehicle and test the lights, signals, wipers, horn, tires, and seatbelts.
- Set up: Adjust the seat and mirrors before moving, then remove phone distractions.
- Drive: Follow the route with a steady pace and leave room for unexpected traffic.
- Reset: Use slow breathing and focus on the next safe decision, not on imagined mistakes.
Don't let one imperfect moment take over the assessment. Listen to the instruction, observe properly, and continue driving safely. The examiner is looking for consistent, independent vehicle operation, not a performance built around panic.
Ontario G Test: 7-Point Checklist Comparison
Item 🔄 Implementation complexity ⚡ Resource requirements ⭐ Expected outcomes 💡 Ideal use cases 📊 Key advantages Essential Documents to Bring Low, organisational steps (checklist) Minimal, G1, photo ID, proof of residency, folder High, avoids cancellation; permits check-in All test candidates; newcomers needing alternate residency proof Reduces delays; smoother verification Vehicle Requirements and Specifications Medium, legal & seating requirements Moderate, registered, insured passenger vehicle High, safe, examinable vehicle for test route Candidates using personal or borrowed car Familiar vehicle handling; consistent test conditions Fees, Payment Methods, and ID Protocols Low, pay and present ID at booking/check-in Low, $90 CAD, accepted payment method(s), government photo ID Moderate, confirmed booking and identity verification Booking and check-in stages; newcomers confirming ID Multiple payment options; clear ID rules prevent fraud Appointment Booking & Arrival Planning Medium, timing, booking window, route planning Low–Moderate, internet access, time to scout route High, better timing, reduced day‑of stress Candidates scheduling 4–8 weeks ahead; time-of-day selection Secures preferred slots; minimizes arrival issues Vehicle Safety & Maintenance Pre‑Test Checks High, comprehensive mechanical inspection High, mechanic/time/tools; possible repair costs High, lowers cancellation risk; ensures safety Older or borrowed vehicles; pre-test week checks Prevents mechanical failures; improves safety Essential Driving Maneuvers to Practice High, skill development (10–15 hrs recommended) High, driving hours, vehicle, instructor or mentor High, improved technique, confidence, pass likelihood Learners preparing to pass G2; those mastering parking/merging Builds muscle memory; consistent test performance Final Pre‑Test Inspection & Day‑Of Preparation Medium, final checks plus routine management Low, evening vehicle check, documents, rest, travel buffer High, optimized focus; fewer last‑minute issues All candidates day‑before/day‑of test Minimizes surprises; improves mental/physical readiness
Turn This Checklist Into Your Test Day Routine
Copy these seven checks into one printed list. Assign a date to each task, then complete the document review and vehicle inspection at least a week before the appointment. That timing gives you a chance to replace an unsuitable car, correct an insurance or registration issue, repair a light, or ask about an unusual document before test day.
Use the checklist as a control system rather than a last-minute reminder. First confirm the appointment and licence eligibility. Then confirm the vehicle, payment, identification, route, and practice priorities. On the final evening, repeat the safety check and place everything in one folder. On the morning, arrive early and follow the sequence instead of improvising.
Consistent practice matters most. The G test expects safe, independent decisions in more complex traffic, so practise scanning, signalling, blind-spot checks, lane changes, merging, speed management, and hazard anticipation until they're dependable. A clean vehicle and complete folder can prevent a cancelled appointment, but only regular practice can make those driving decisions feel automatic.
For the knowledge side of Ontario licensing, G1ready.ca offers free, registration-free practice exams with instant explanations, progress tracking, and a realistic exam simulator. Learners can use targeted quizzes, mixed tests, diagnostic practice, marathon sessions, and unlimited retakes to identify weak areas before the official assessment. That preparation supports the earlier G1 stage, while your in-car practice prepares you for the road-test skills that follow.
Use G1ready.ca for free, registration-free Ontario G1 practice exams with instant explanations, progress tracking, and an exam simulator. Build the knowledge foundation early, then use this Ontario G test checklist to organize your documents, vehicle, appointment, and driving practice before test day.


