
Leave about one metre between your vehicle and the parked vehicle in front while positioning, then finish parallel to the curb with your vehicle no more than 60 centimetres away. Those are the two distance targets that turn parallel parking from guesswork into a controlled manoeuvre.
You're probably reading this after stopping too far from the curb, turning too early, or wondering whether the examiner will accept your final position. These mistakes are common because learners often practise parallel parking as a sequence of steering movements without measuring the space around the vehicle. Ontario's official guidance gives you better reference points. Use the space beside the lead vehicle, the rear-bumper alignment, and the final curb offset to make each attempt repeatable.
Understanding Parallel Parking Distance Requirements
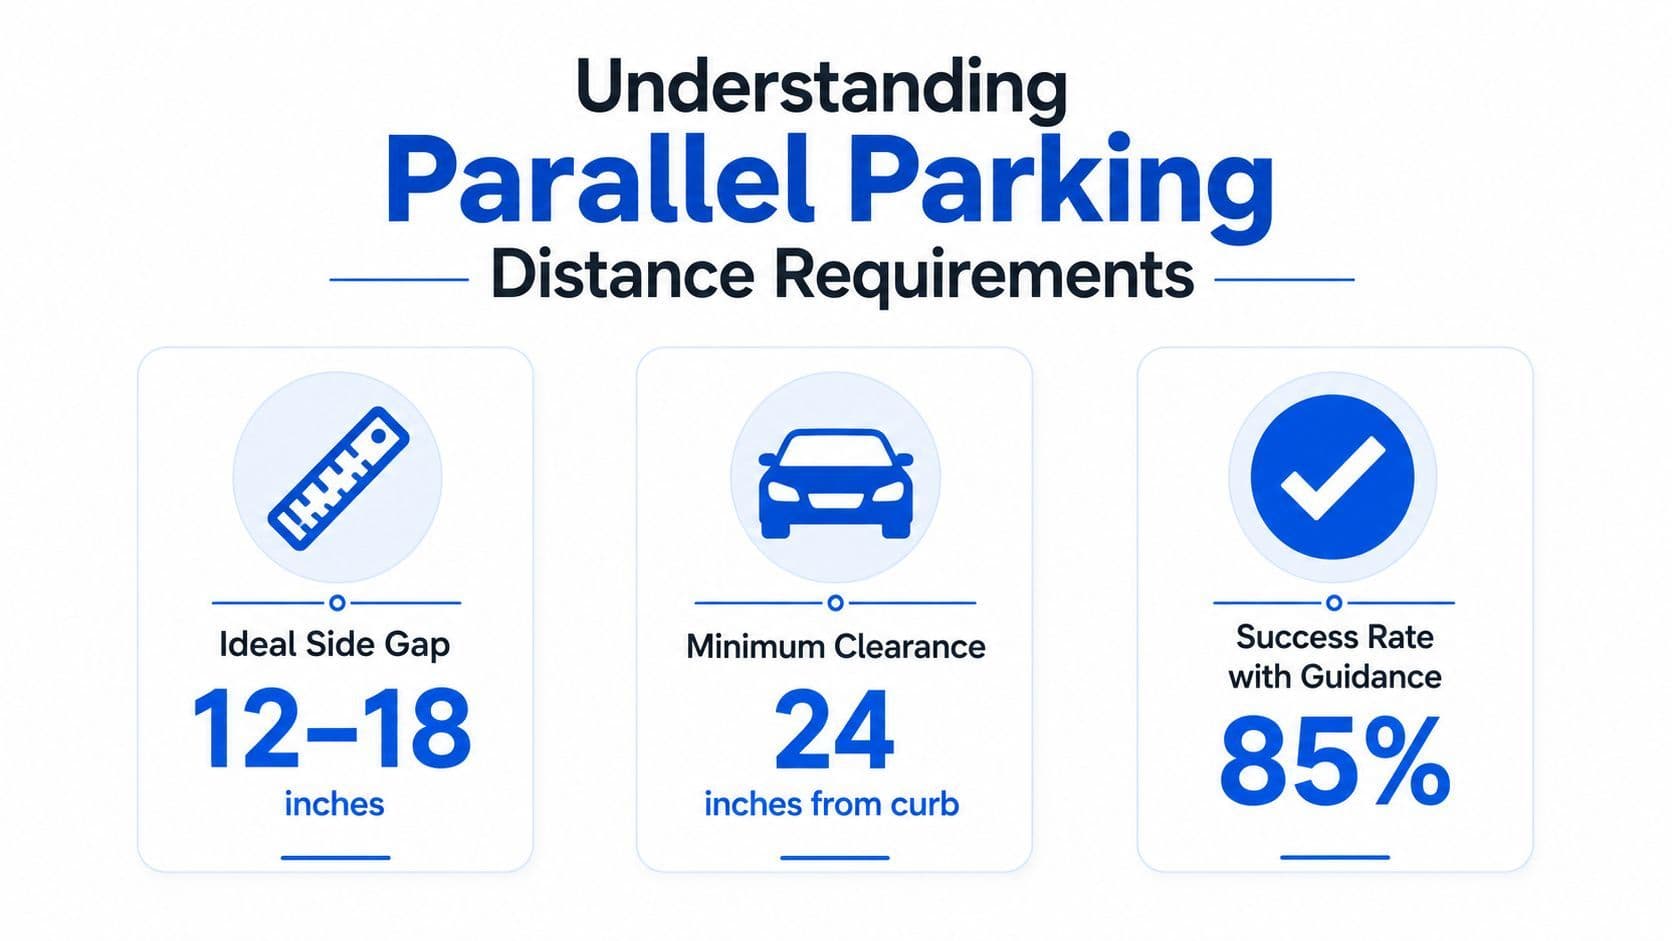
Examiners watch the geometry of the manoeuvre, not just whether the vehicle enters the space. Your setup must leave about one metre between the two vehicles, with your rear bumper aligned with the vehicle in front. The completed position must be no more than 60 centimetres from the curb, fully in front of the open space, and free from contact, as described in Ontario's official guidance.
That opening alignment controls the reverse-turn path. Too little side room brings your rear corner close to the lead vehicle. Too much pushes the turn farther into traffic and can leave the vehicle outside the space. Use the lead vehicle's rear bumper as a fixed reference before reversing, rather than relying on steering timing alone.
The 60-centimetre target is a maximum final offset. Check the curb as the vehicle moves back, straighten before stopping, and correct if the front end remains angled outward. The Level Two road-test criteria also require you to stop beside or parallel to the vehicle in front, leave at least 60 centimetres between the vehicles, and stop with your vehicle completely in front of the empty space. Review the Level Two road-test handbook criteria for the full assessment language.
For related rules, use a complete Ontario G1 parking rules guide. Practise the two measurements first, then refine steering timing.
Why the One Metre Gap Matters
The one-metre gap is the working room that makes the first reverse turn manageable. Ontario's Ministry of Transportation handbook recommends leaving about one metre between your vehicle and the vehicle in front while you position beside the space, as set out in its parking-along-roadways guidance. This isn't merely a comfortable buffer. It gives the rear of your vehicle room to begin moving into the space without immediately threatening the parked vehicle.
The gap also creates a consistent starting geometry. If you pull up almost against the lead vehicle, your rear corner has little clearance when you steer into the space. If you leave a much wider gap, the vehicle begins its turn farther into the roadway, so the rear wheels may not track the curbside path you expected.
Use the gap as a repeatable reference
Learners often rely on a visual impression, such as “close enough” or “about a car door away.” Those descriptions change with the vehicle, the road width, and the viewing angle. A measured mental reference is more reliable. In practice, compare the space beside the lead vehicle with a familiar arm's-length approximation, then confirm that you're not drifting toward the parked car before reversing.
The rear-bumper alignment completes the setup. The handbook says to stop when your rear bumper is in line with the other vehicle, giving you a concrete point at which to begin the manoeuvre rather than an uncertain guess based on the front of the cars.
Practical rule: Set the gap first, align the rear bumpers second, and only then begin reversing.
This order prevents a common chain reaction. A poor initial gap forces a poor turn, and a poor turn leads to rushed steering corrections near the curb or the vehicle behind.
Initial Positioning and Alignment Technique
Good parallel parking starts before the vehicle moves backward. Signal early, scan the road, and choose a space that gives your vehicle room to enter and finish fully in front of it. Ontario's handbook says an available parallel parking space should be about one and one-half times the length of your vehicle, which provides a practical test for whether the space is workable in the first place. The same handbook guidance is available through the Ontario parking manoeuvre instructions.
Build the starting position
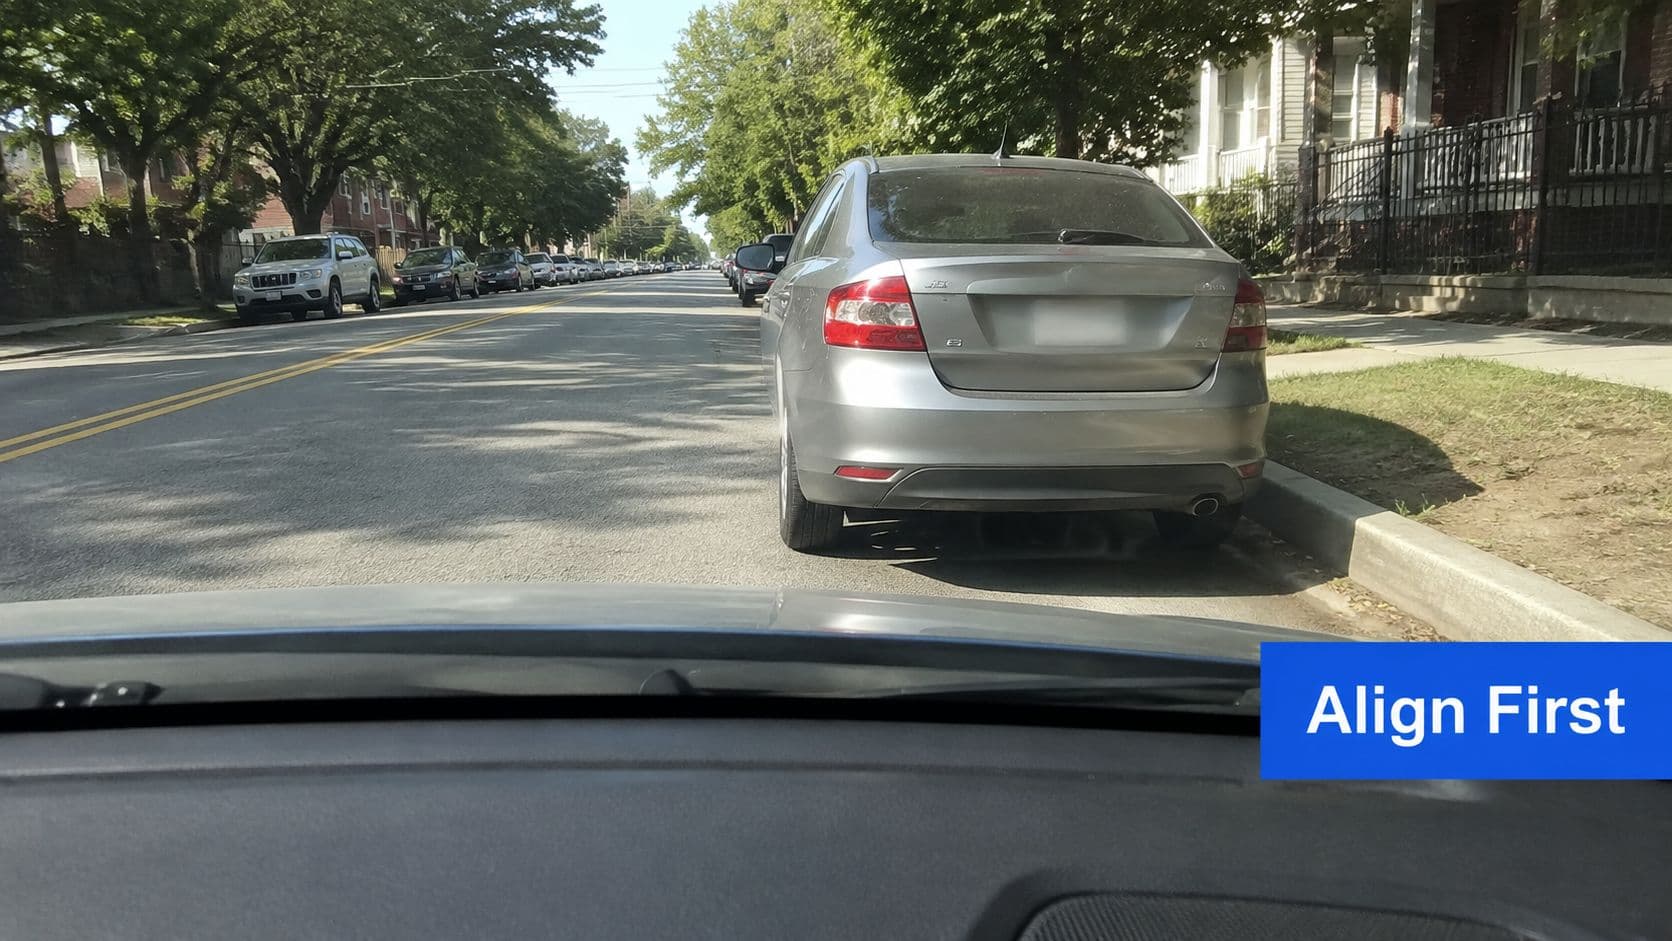
- Move alongside the lead vehicle. Pull forward slowly until your vehicle is beside the car parked in front of the empty space. Keep roughly one metre laterally between the vehicles.
- Match the rear bumpers. Stop when your rear bumper is in line with the rear bumper of the parked vehicle. This is the geometric reference Ontario's handbook gives learners. Don't use your front bumper as the alignment point, because it doesn't show where the rear of your vehicle will begin its arc.
- Secure the surroundings. Check the rear-view mirror, side mirrors, blind spots, and over your shoulder before selecting reverse. Look for pedestrians, cyclists, and vehicles approaching from behind. The examiner needs to see active observation, not just steering control.
- Start slowly. Release the brake smoothly and begin reversing only when the path is clear. Keep the vehicle moving at a controlled crawl so you can respond to what the mirrors and shoulder checks show.
If you've pulled too far forward, don't begin the turn and hope to recover later. Move ahead until the rear bumpers are aligned. If you've stopped short, make a small forward adjustment before reversing. Starting from the correct reference point is easier than trying to repair a poor angle halfway through.
Keep both hands available for steering and continue checking around the vehicle during every adjustment. A camera can support your view, but it doesn't replace mirrors and shoulder checks.
Common Spacing Mistakes and How to Avoid Them
A learner can follow every steering step and still fail the manoeuvre by starting with the wrong distance. Too little room risks the lead vehicle during the first turn. Too much lateral separation sends the arc into the roadway instead of the parking space. An incorrect rear-bumper reference makes either error harder to correct.
Learner position What usually happens Better response Too close to the lead vehicle The rear corner approaches it quickly during the first turn. Pull forward and restore about 60 centimetres of working space before reversing. Too far from the lead vehicle The vehicle starts its arc too far into the roadway and may miss the space. Reposition closer while keeping the required gap. Rear bumpers misaligned The turn begins too early or too late for the available space. Stop and reset the bumper reference before reversing. Final curb offset is excessive The vehicle finishes angled or more than 1 metre from the curb. Straighten, check the curb-side mirror, and make a controlled correction.
Ontario's road-test standard uses measurable spacing. When you stop beside the parked vehicle before reversing, leave at least 60 centimetres between the vehicles. After parking, finish parallel and within 1 metre of the curb. These targets give you a practical check when the space looks wider or narrower than expected.
Correct the cause, not just the symptom
If the final curb distance is excessive, avoid a sudden steering movement. Move at a crawl, adjust the angle gradually, and confirm in the mirrors that the vehicle is becoming parallel. If the vehicle is too close to the curb, stop before contact. Select the appropriate gear, create room with a small controlled movement, and realign.
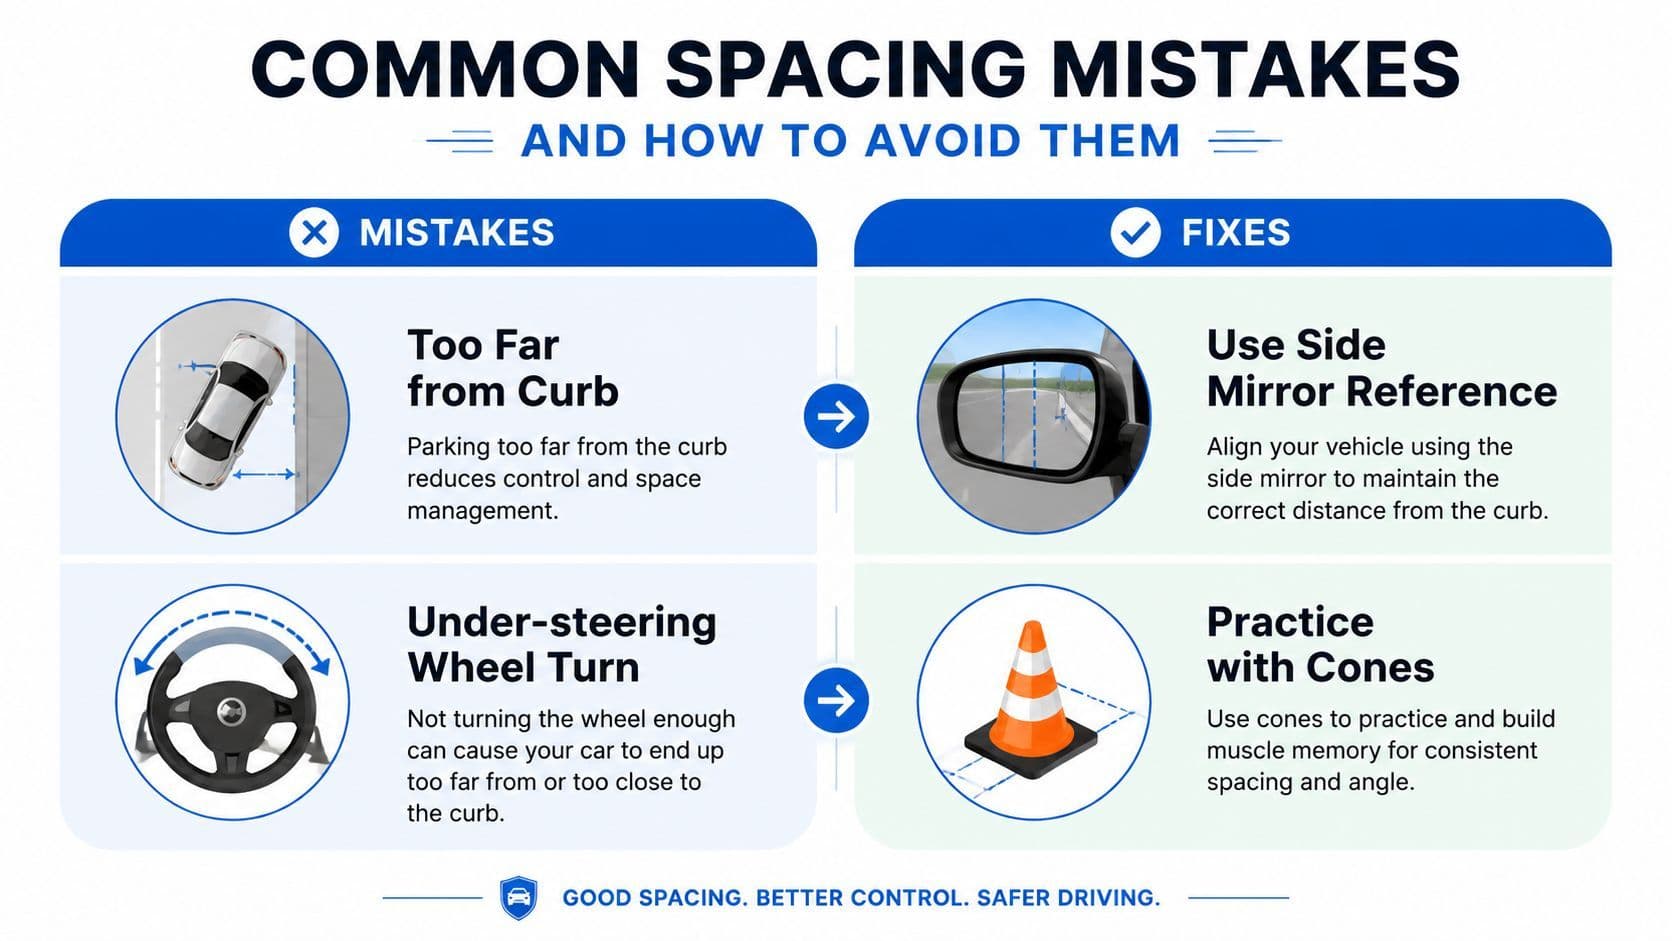
Use cones or other safe visual markers on private property to practise the 60-centimetre starting gap and the 1-metre final curb limit. Keep checking the surrounding area during every attempt. The markers teach how the rear of your vehicle moves when the front wheels turn, but they cannot replace mirrors, shoulder checks, or attention to traffic.
Resetting is usually safer than forcing a bad entry. If the initial gap or bumper alignment is wrong, correct it before the reverse turn begins.
The Reverse Turn and Steering Technique
Once the rear bumpers are aligned, shift into reverse only after checking the full area around the vehicle. Begin backing slowly and steer toward the space in a smooth movement. Your first visual checkpoint is the relationship between the rear of your vehicle and the curb. Your second is the remaining clearance from the parked vehicles.
The steering wheel controls the front wheels, but the rear of the vehicle determines whether you enter the space safely. Watch the right-side mirror for the curb and use the left-side mirror and shoulder checks to monitor the road and the vehicle behind. Don't stare at one mirror for the entire manoeuvre. Your eyes should move deliberately between the direction of travel, mirrors, and blind spots.
Use checkpoints instead of guesswork
- Starting checkpoint: Your rear bumper is aligned with the lead vehicle's rear bumper, and the side gap is about one metre.
- Entry checkpoint: The rear of your vehicle has begun entering the space while the front remains clear of the lead vehicle.
- Straightening checkpoint: The vehicle is moving into the space rather than continuing to rotate sharply toward the curb.
- Final-turn checkpoint: The front end has room to swing inward without contacting the lead vehicle or moving vehicle behind.
Counter-steer gradually when the vehicle has entered far enough to begin straightening. The exact steering timing changes with vehicle size and wheelbase, so fixed turns of the wheel aren't as dependable as visual feedback. For a practical review of hand placement and control, use this steering-wheel grip guide.
Ontario's Level Two criteria require you to stop beside or parallel to the parked vehicle in front, leave at least 60 centimetres between the vehicles, and stop when the vehicle is completely in front of the empty parking space, according to the official Level Two test criteria. Maintain smooth inputs so you can stop and correct before crossing those boundaries.
Completing the Maneuver with Proper Curb Distance
The finish is where a technically good entry can still become an incomplete park. As the vehicle becomes parallel, reduce steering input and straighten the wheels. Keep checking the curb-side mirror, because the final position needs to be judged from the vehicle's actual angle, not from the driver's seat alone.
Ontario's Level Two guidance says that once the manoeuvre is complete, the vehicle should be no more than 60 centimetres from the parked vehicle, and it must end fully in front of the space without contact, as described in the exported Ontario handbook criteria. Treat that as a final verification, not something to think about only after you've stopped.
Make a small correction when needed
If the front of your vehicle is still pointing away from the curb, straighten the wheels and move carefully to improve the alignment. A slight forward adjustment can help when the car is too far from the curb or remains angled. Turn toward the curb only as much as needed, then straighten the wheels again once the vehicle is parallel.
If you're too close, don't force the vehicle forward while the wheels remain turned toward the curb. That can make the front corner approach the parked vehicle or the curb unpredictably. Stop, assess, and use a controlled adjustment that increases clearance before settling back into the space.
The final check should answer four questions:
- Is the vehicle parallel rather than sharply angled?
- Is the curb offset within the Ontario maximum?
- Is the vehicle completely in front of the empty space?
- Did you avoid contact with the curb and parked vehicles?
Examiners look for control throughout the manoeuvre, so a careful correction is preferable to leaving the car poorly positioned.
Road Test Grading Criteria for Parallel Parking
A clean-looking park can still lose marks if the measurable distances are wrong. Ontario's Level Two criteria assess your position beside the lead vehicle, the clearance between vehicles, your final placement, and whether you make contact. The required geometry is specific: stop parallel to the parked vehicle in front, leave at least 60 centimetres between the vehicles, and finish completely in front of the empty space.
The examiner also evaluates how you reach that position. They watch for controlled reversing, effective observation, safe clearance, and corrections made without losing control. A memorised steering routine does not replace those behaviours.
Prioritise observable performance
What the examiner observes What you should demonstrate Initial position A controlled stop beside the lead vehicle with the required clearance. Spatial awareness Mirror checks, shoulder checks, and awareness of nearby road users. Vehicle control Slow, smooth reversing with measured steering changes. Final placement A parallel position, acceptable curb offset, full entry into the space, and no contact.
The finish carries the same weight in practical terms as the entry. Remaining angled, sitting too far from the curb, or stopping before the vehicle is fully in front of the space shows incomplete control. Correcting is acceptable when it is deliberate and safe, rather than rushed.
Keep scanning while you judge the distance. Chasing an exact visual line should never replace checking mirrors, blind spots, and surrounding traffic. Use this Ontario driving-test preparation guide with the handbook, then practise identifying the 60-centimetre clearance and final position until both checks become routine.
Adjusting for Different Vehicle Sizes
The Ontario distance standards don't change because you switch vehicles, but your steering timing does. A compact car may rotate into the space quickly, while a longer sedan or SUV needs more room for the rear to clear the lead vehicle and for the front end to swing inward at the finish.
Start by learning the rear bumper and rear-wheel position of the vehicle you're driving. Sit normally, adjust the mirrors, and practise identifying where the vehicle's rear corners appear in each mirror. Don't borrow reference points from another car. A visual cue that works in a compact hatchback may place a longer vehicle too close to the parked cars.
Adapt the setup to the vehicle
- Compact cars: Keep the required spacing, but expect the vehicle to respond quickly to steering. Begin the counter-steer based on the vehicle's angle and curb position, not on a memorised delay.
- Sedans: Use the standard rear-bumper alignment and one-metre side gap as your foundation. Make smooth steering changes and watch how the longer front end approaches the lead vehicle.
- SUVs and longer vehicles: Allow more room for the front swing and make your steering corrections earlier. The vehicle may need a broader turning path, so avoid starting too close to the lead vehicle.
Practise each vehicle in a quiet, legal location with cones or other safe markers. First learn the entry path, then repeat the finish until you can judge the curb offset from the side mirror. This builds vehicle-specific awareness without changing the Ontario standards.
The best adjustment is usually slower movement, not a larger steering input. Lower speed gives you time to see the vehicle's trajectory and correct before the gap disappears.
Quick Reference Checklist for Success
Use this checklist each time you approach a parallel parking space. Repeating the same sequence reduces rushed steering and keeps the measurable targets in view.
Before reversing
- Assess the space: Choose an opening about one and one-half times the length of your vehicle, consistent with the practical guidance noted earlier.
- Signal and scan: Check the mirrors, blind spots, and area around the vehicle before stopping.
- Set the side gap: Leave about one metre between your vehicle and the parked vehicle ahead.
- Align the bumpers: Stop with your rear bumper level with the other vehicle's rear bumper.
During the reverse
- Move slowly: Release the brake in a controlled way and avoid hurried steering.
- Watch both sides: Monitor the curb-side mirror while checking clearance from the parked vehicles.
- Check over your shoulder: Continue scanning for pedestrians, cyclists, and approaching vehicles.
- Correct early: If the angle is wrong, stop and make a small adjustment before the error grows.
At the finish
- Straighten the vehicle: Bring the wheels and body into a parallel position.
- Confirm curb distance: Finish no more than 60 centimetres from the curb, in line with the Ontario Level Two guidance referenced earlier.
- Confirm vehicle placement: Make sure the car is completely in front of the empty space.
- Check for contact: Confirm that you have not touched the curb or either parked vehicle.
Measurement or reference What to remember Space length About one and one-half times your vehicle length Initial side gap About one metre Final curb offset No more than 60 centimetres Lead-vehicle clearance for the test At least 60 centimetres
The useful practice question is not, “Did I get in?” Ask whether you started with the correct gap, maintained clearance, and finished within the measurable targets. That review exposes the positioning error before it becomes a test-day habit.
For structured Ontario learner preparation, use the Ontario G1 handbook with practice questions to reinforce the one-metre gap, 60-centimetre curb target, and positioning steps covered here. G1ready.ca can provide additional practice for parking rules and other G1 knowledge before test day.


